A combined K-1 class Making Experience
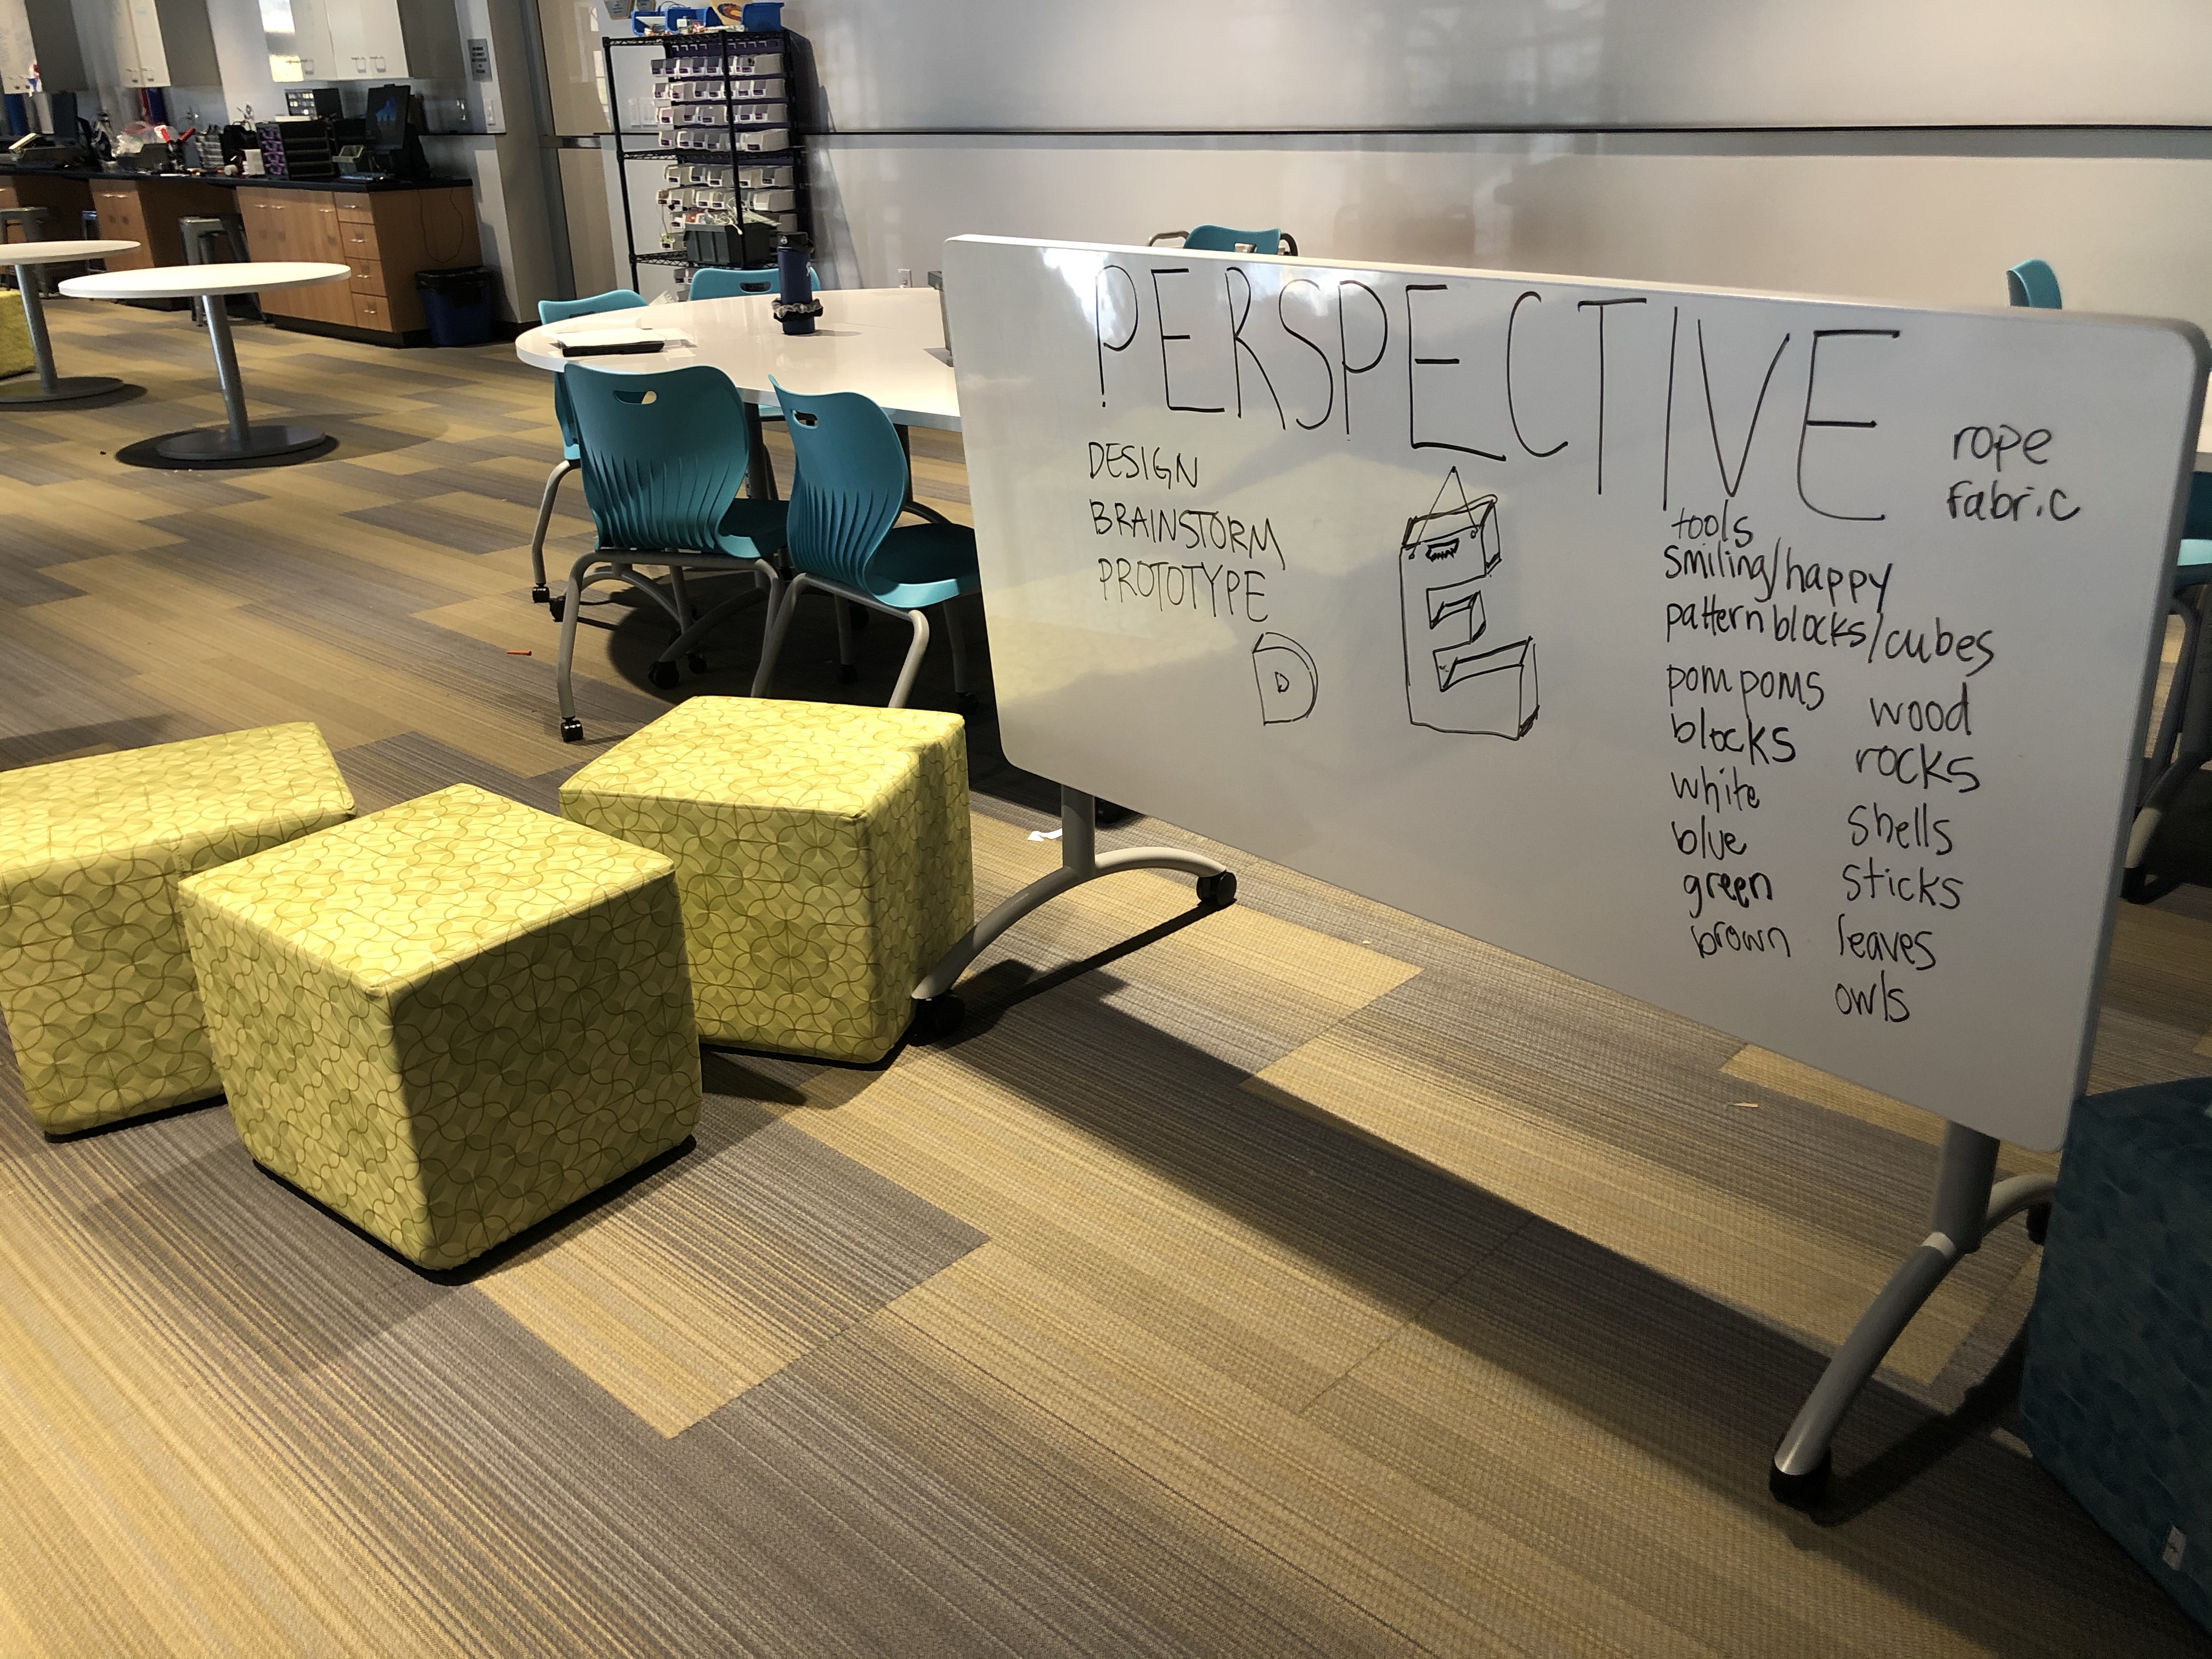
P E R S P E C T I V E
This is the focus word for our combined K-1 classroom this year. What a great word to choose for this first year of piloting a combined learning model. Everything depends on the perspective with which we choose to look at it.
We decided to design a sign to hang on the classroom wall to celebrate/remind ourselves of this new term. Students visited the Innovation Lab for a design and prototyping session. When asked, What does perspective mean? They all had something to say. “Looking at the big picture” “taking a birds eye view” “thinking about something in a new way” “changing where you are looking.” Clearly perspective is something they incorporate into a lot of their daily experiences.
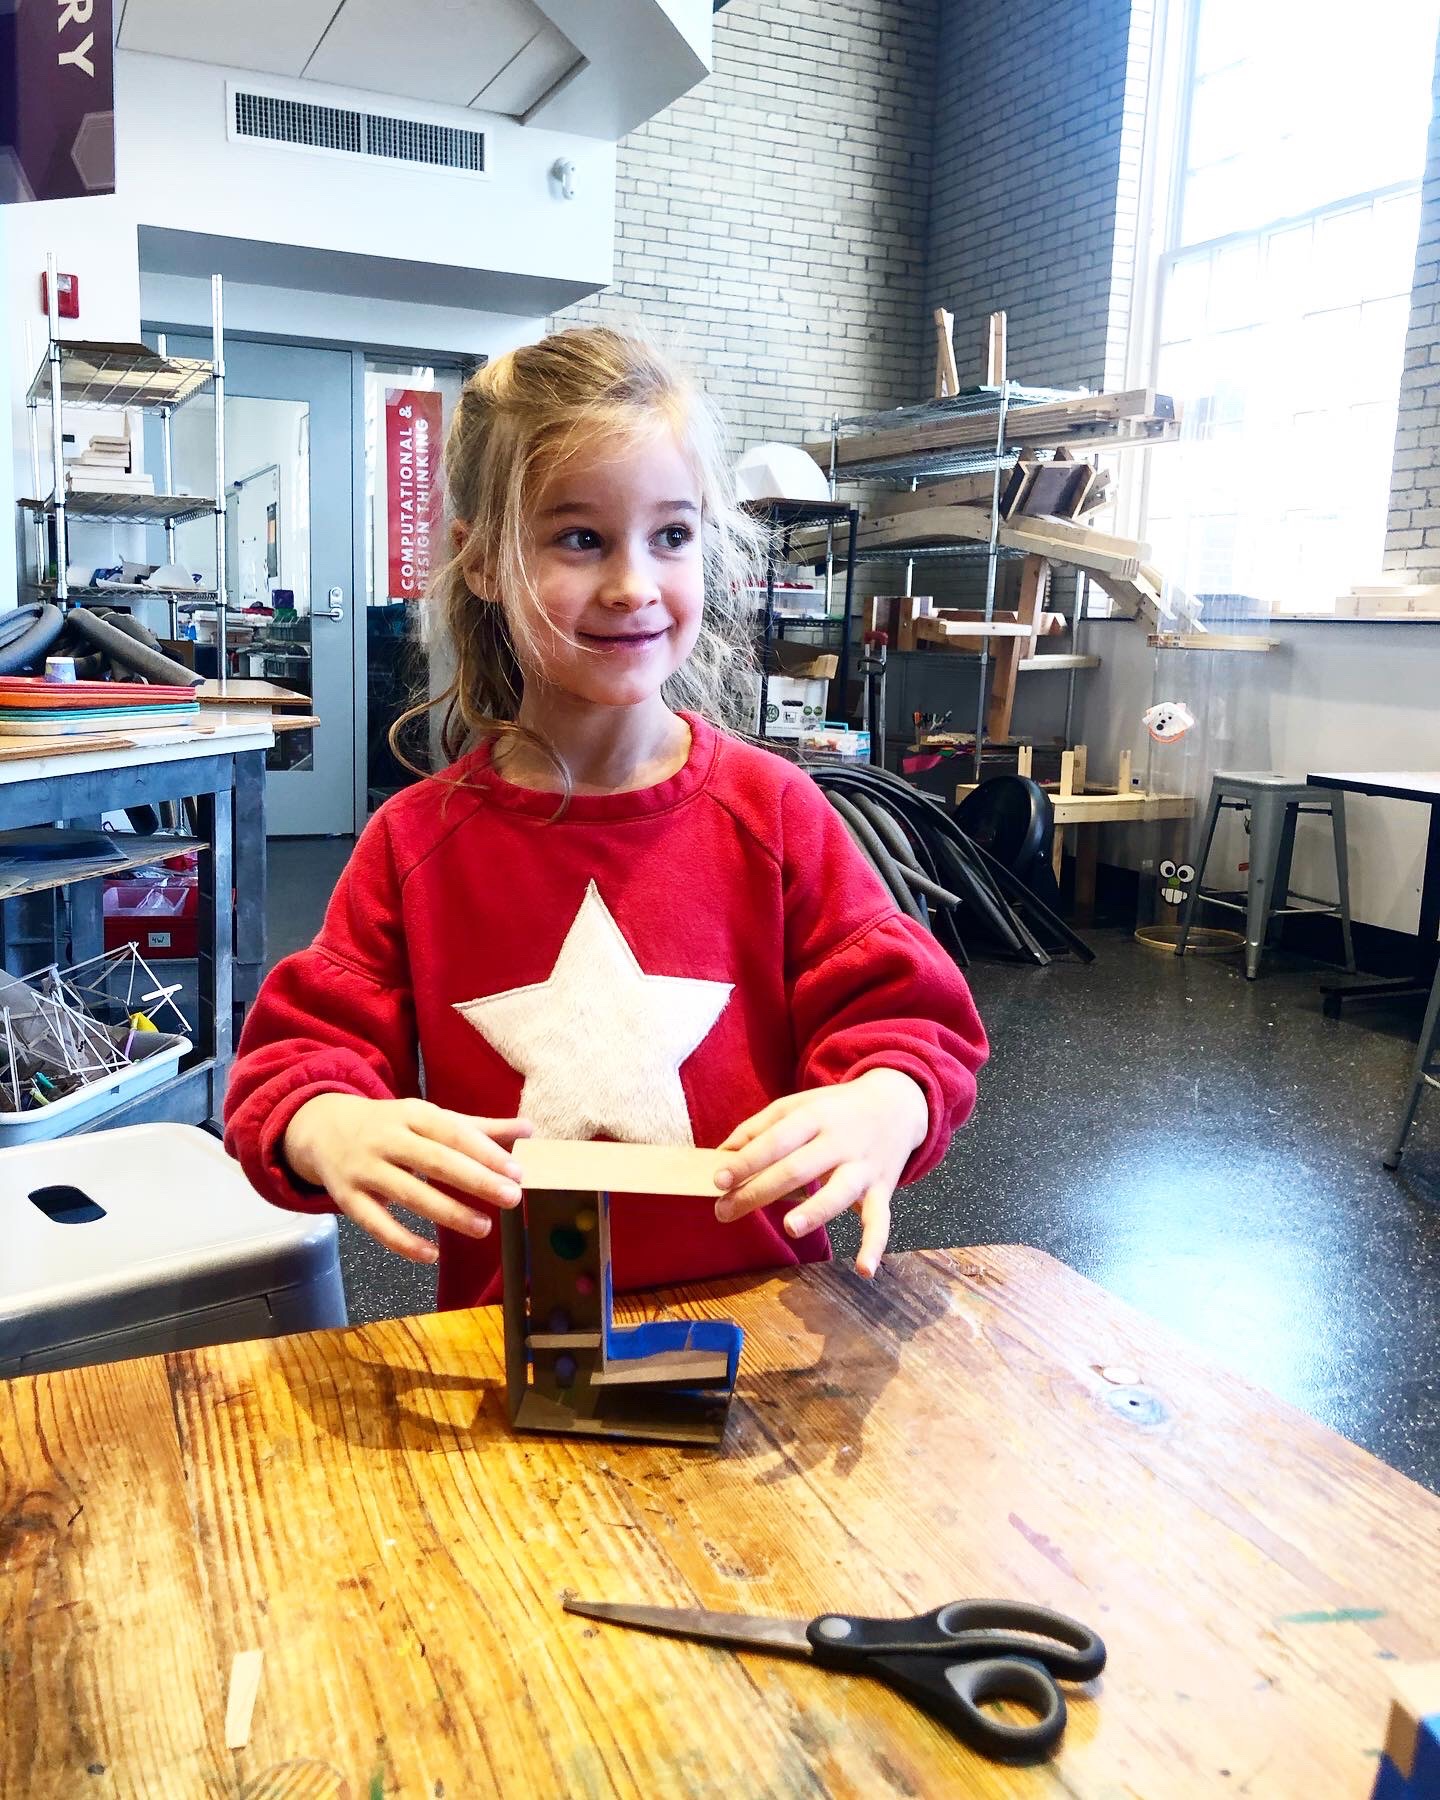
In our brainstorm session, we learned how our sign needs to fit in the space it will live. It wouldn’t make sense to put a road sign in our classroom! A closer look at the classroom revealed natural colors and materials. The students decided to make each letter a box- taking a 2D letter and making it 3D- and fill the box with natural materials. This change in dimension gives us a whole new perspective to approach the letter itself, and what we can do with it.
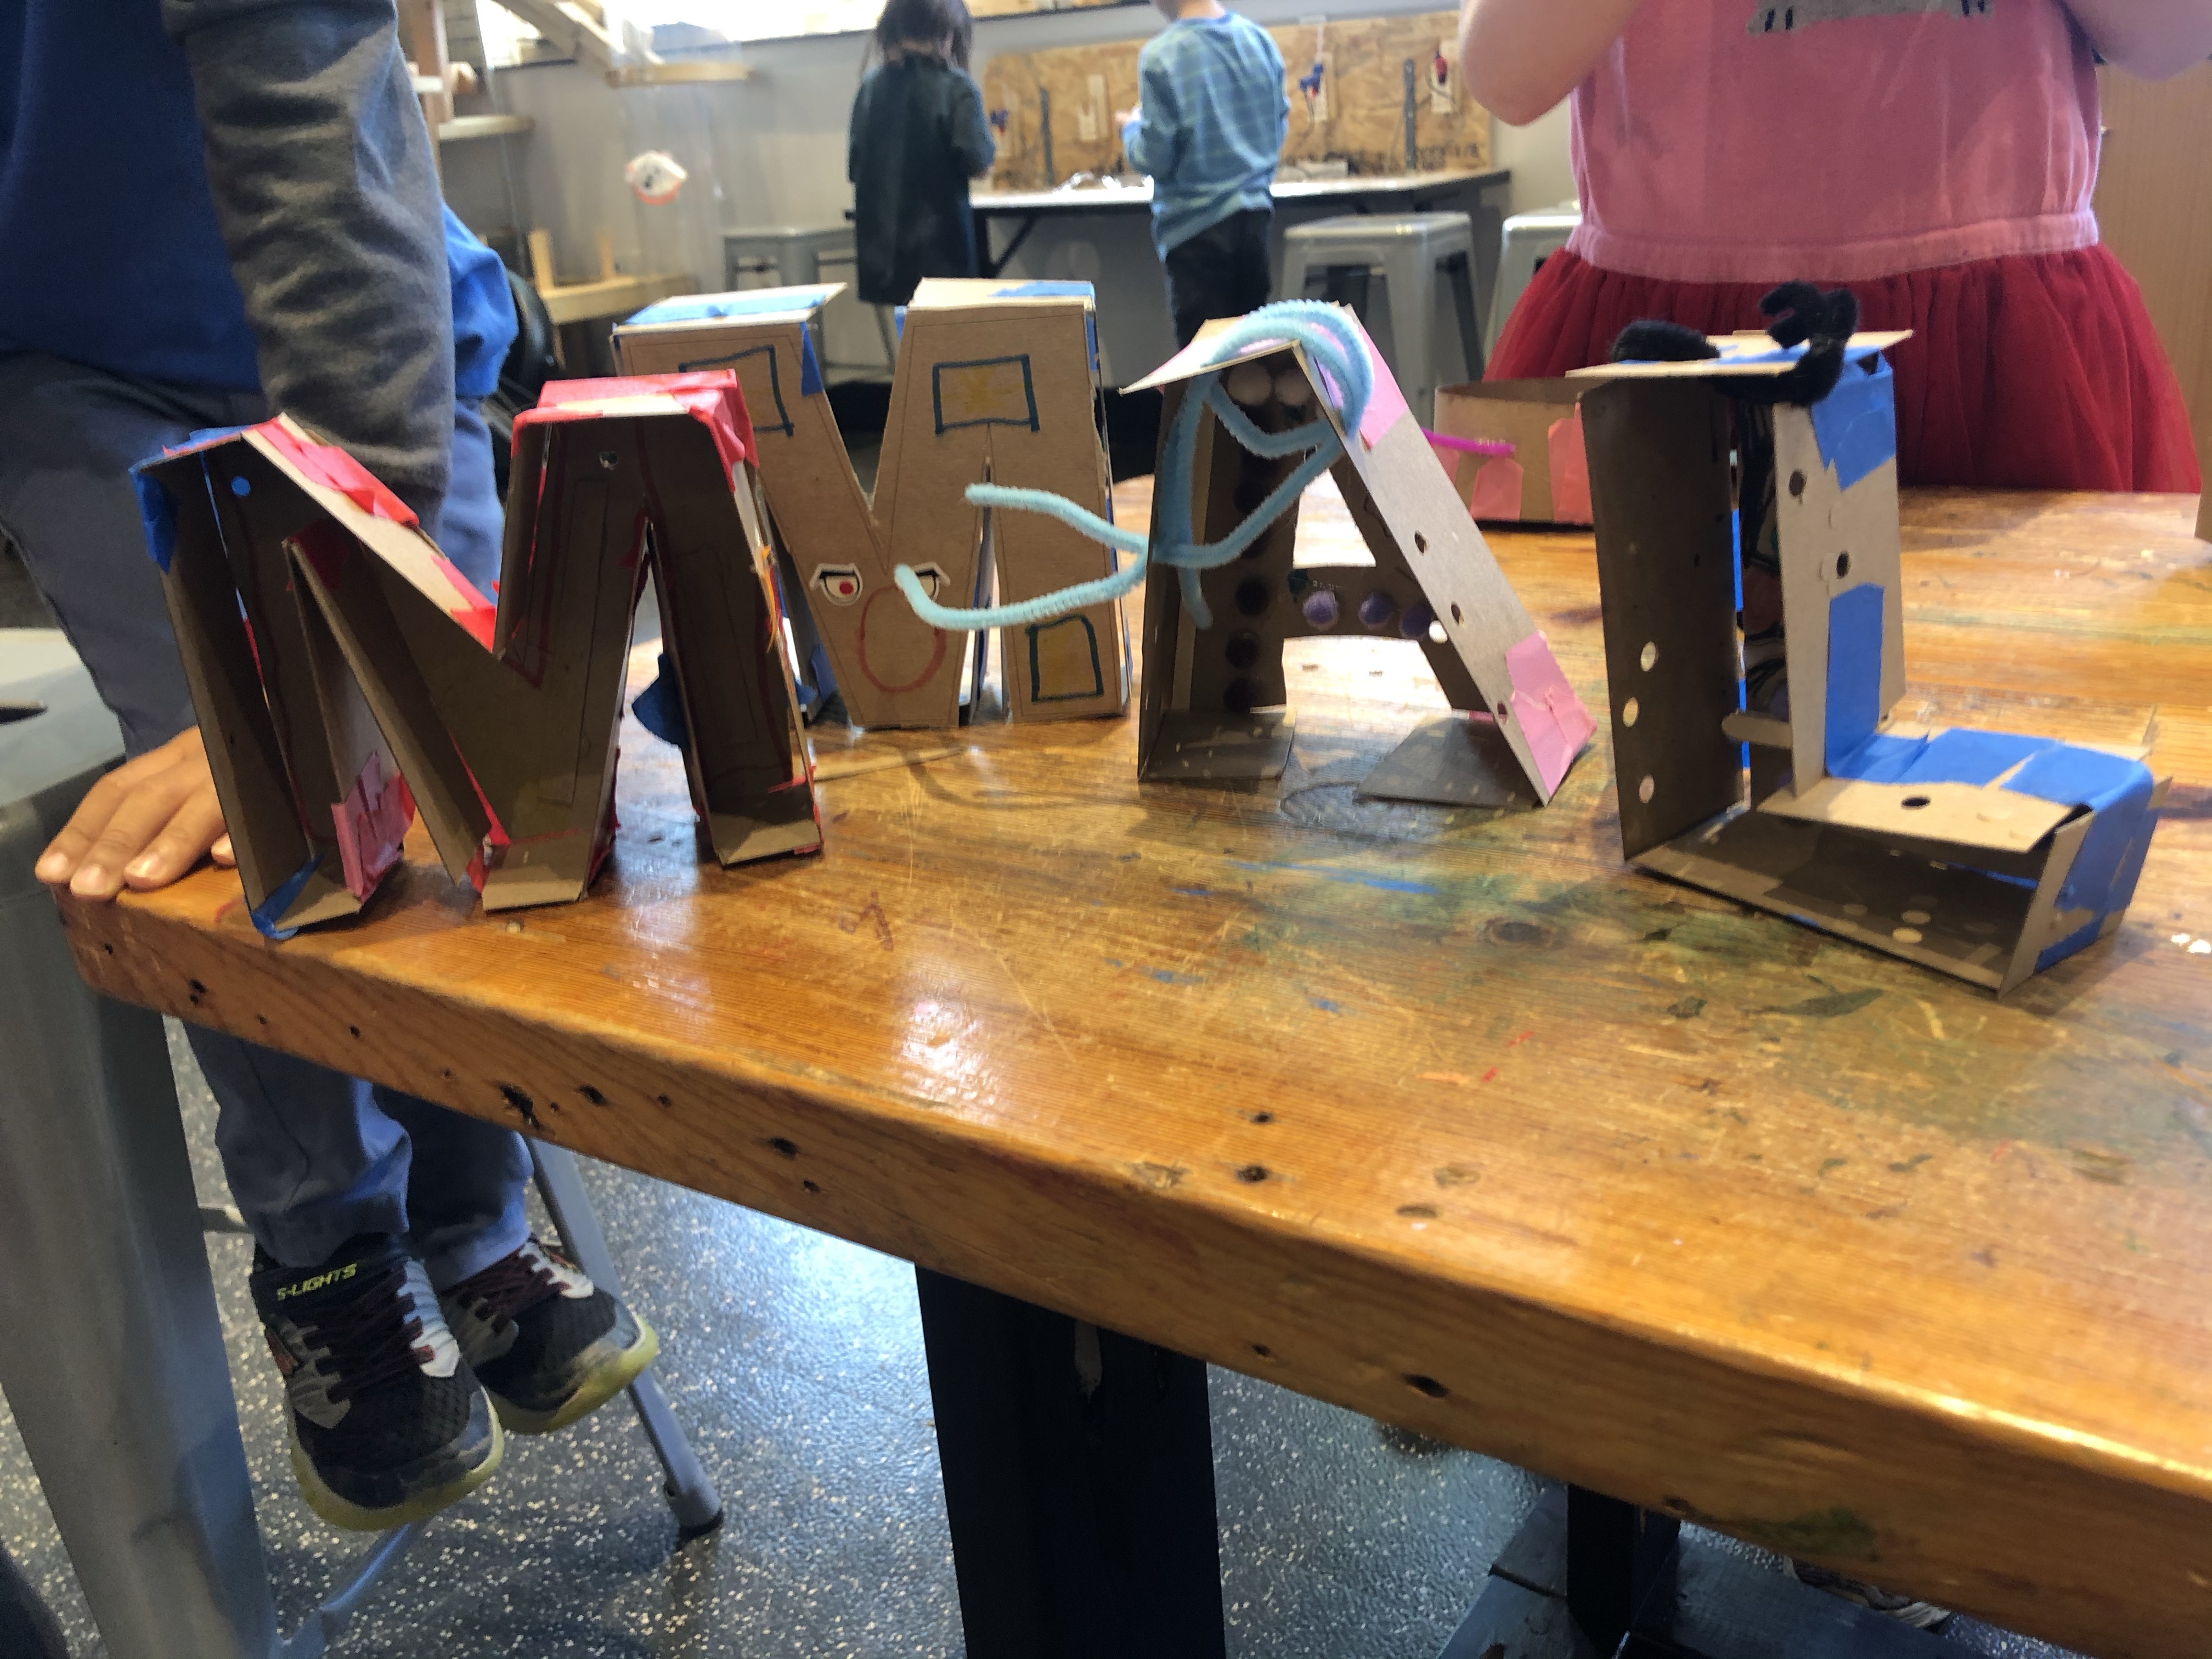
But first to prototype with letters from our names! We worked through challenges- how will we measure to make the frame? How do we attach the frame to the letter? How do we work with chipboard, tape, and scissors to create a model for our idea? How will we hang it on the wall?
I prepped the lesson by setting up a Corel file with each student’s first initial, all letters set to 5″ high. I used the blue 255 hairline with color mapping turned on so the laser cutter would ETCH the outline of the letters onto chipboard. I wanted the students to do as much as possible, including cutting out their letter (using the lasered lines as their guide).
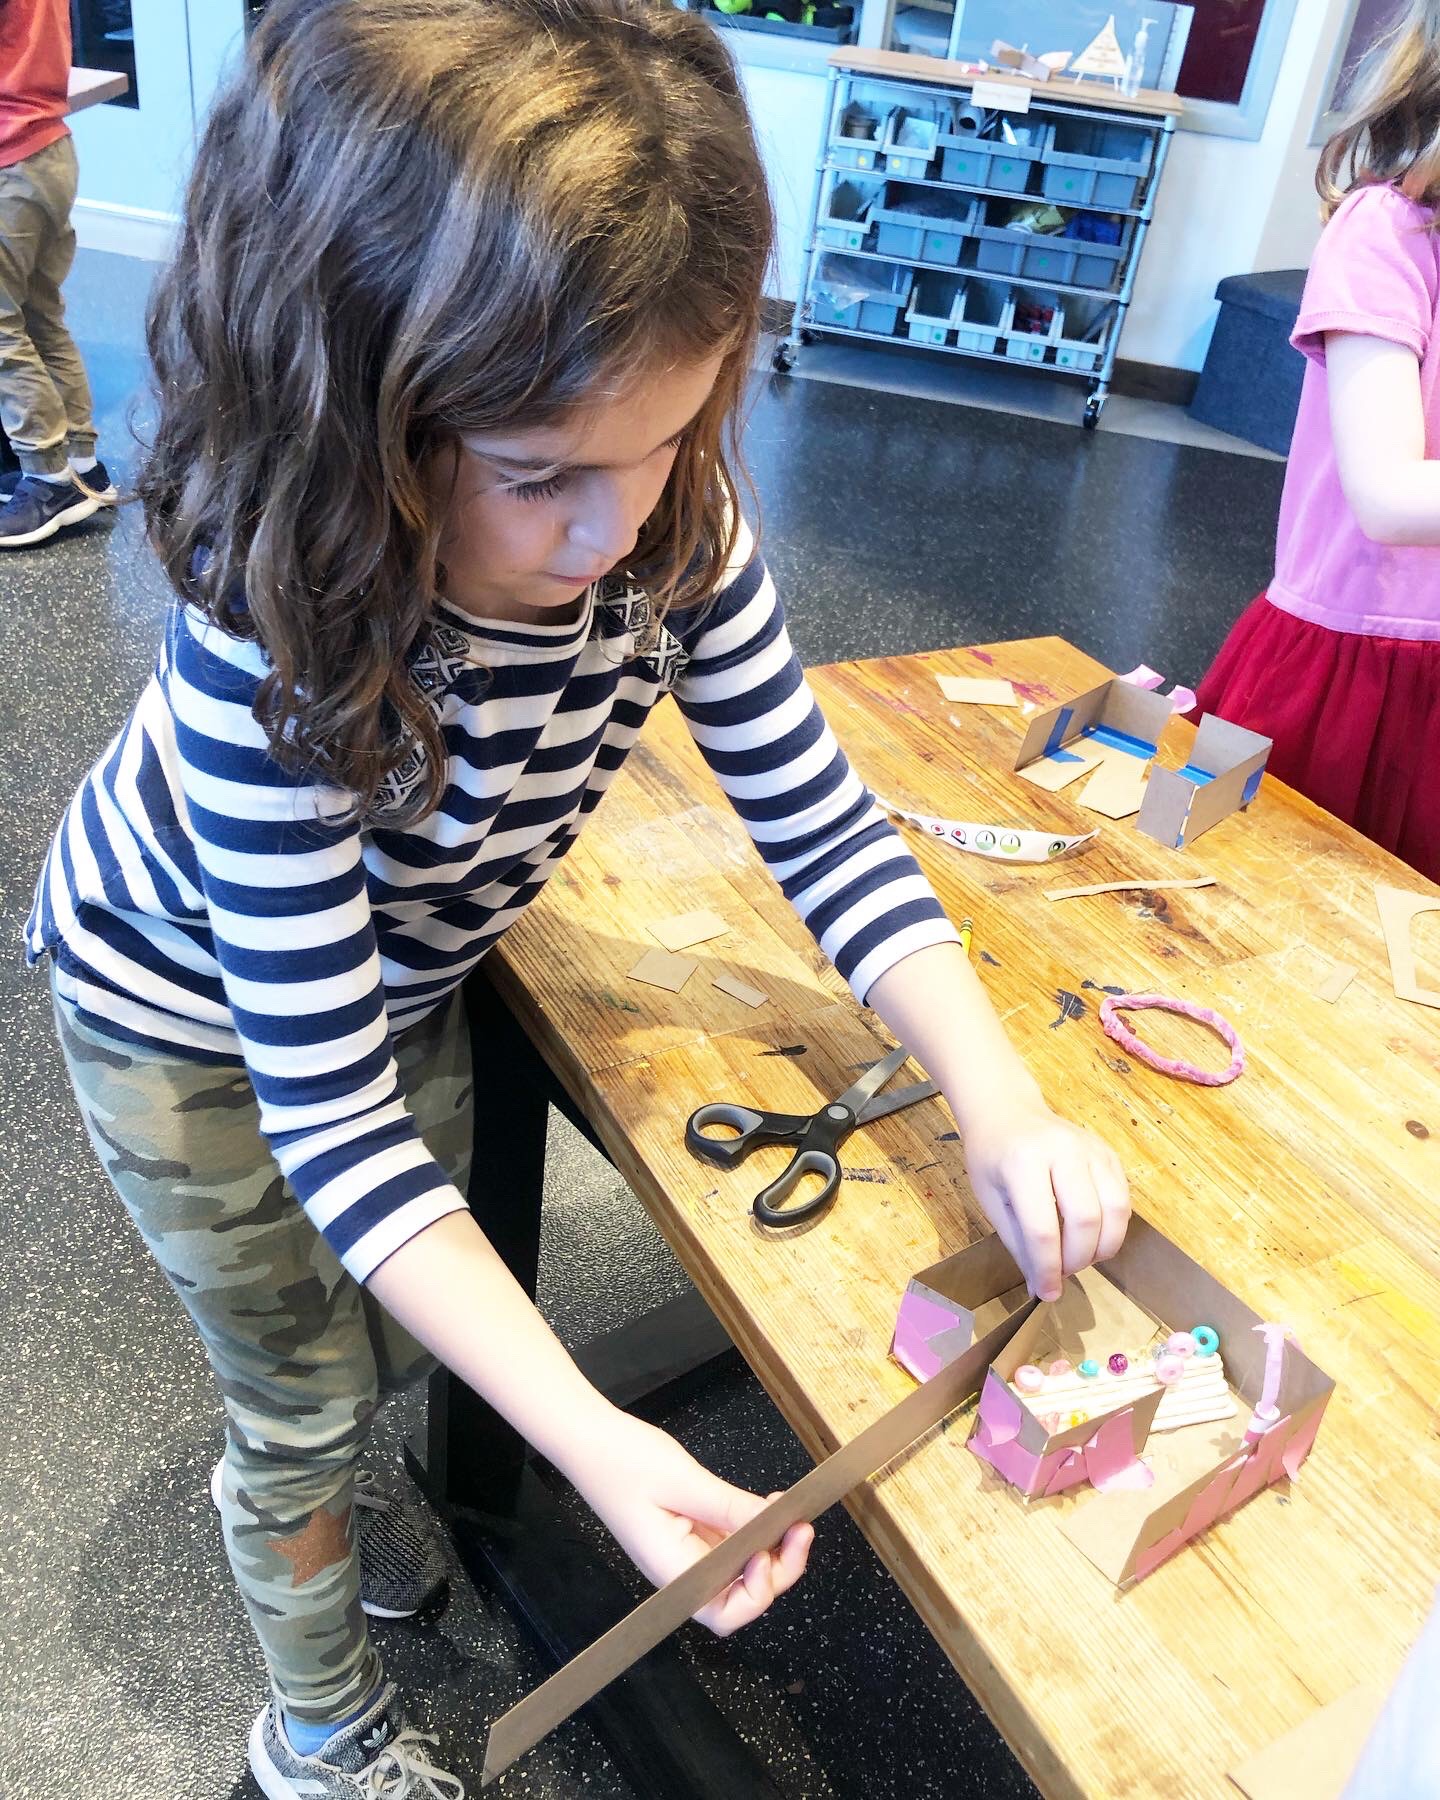
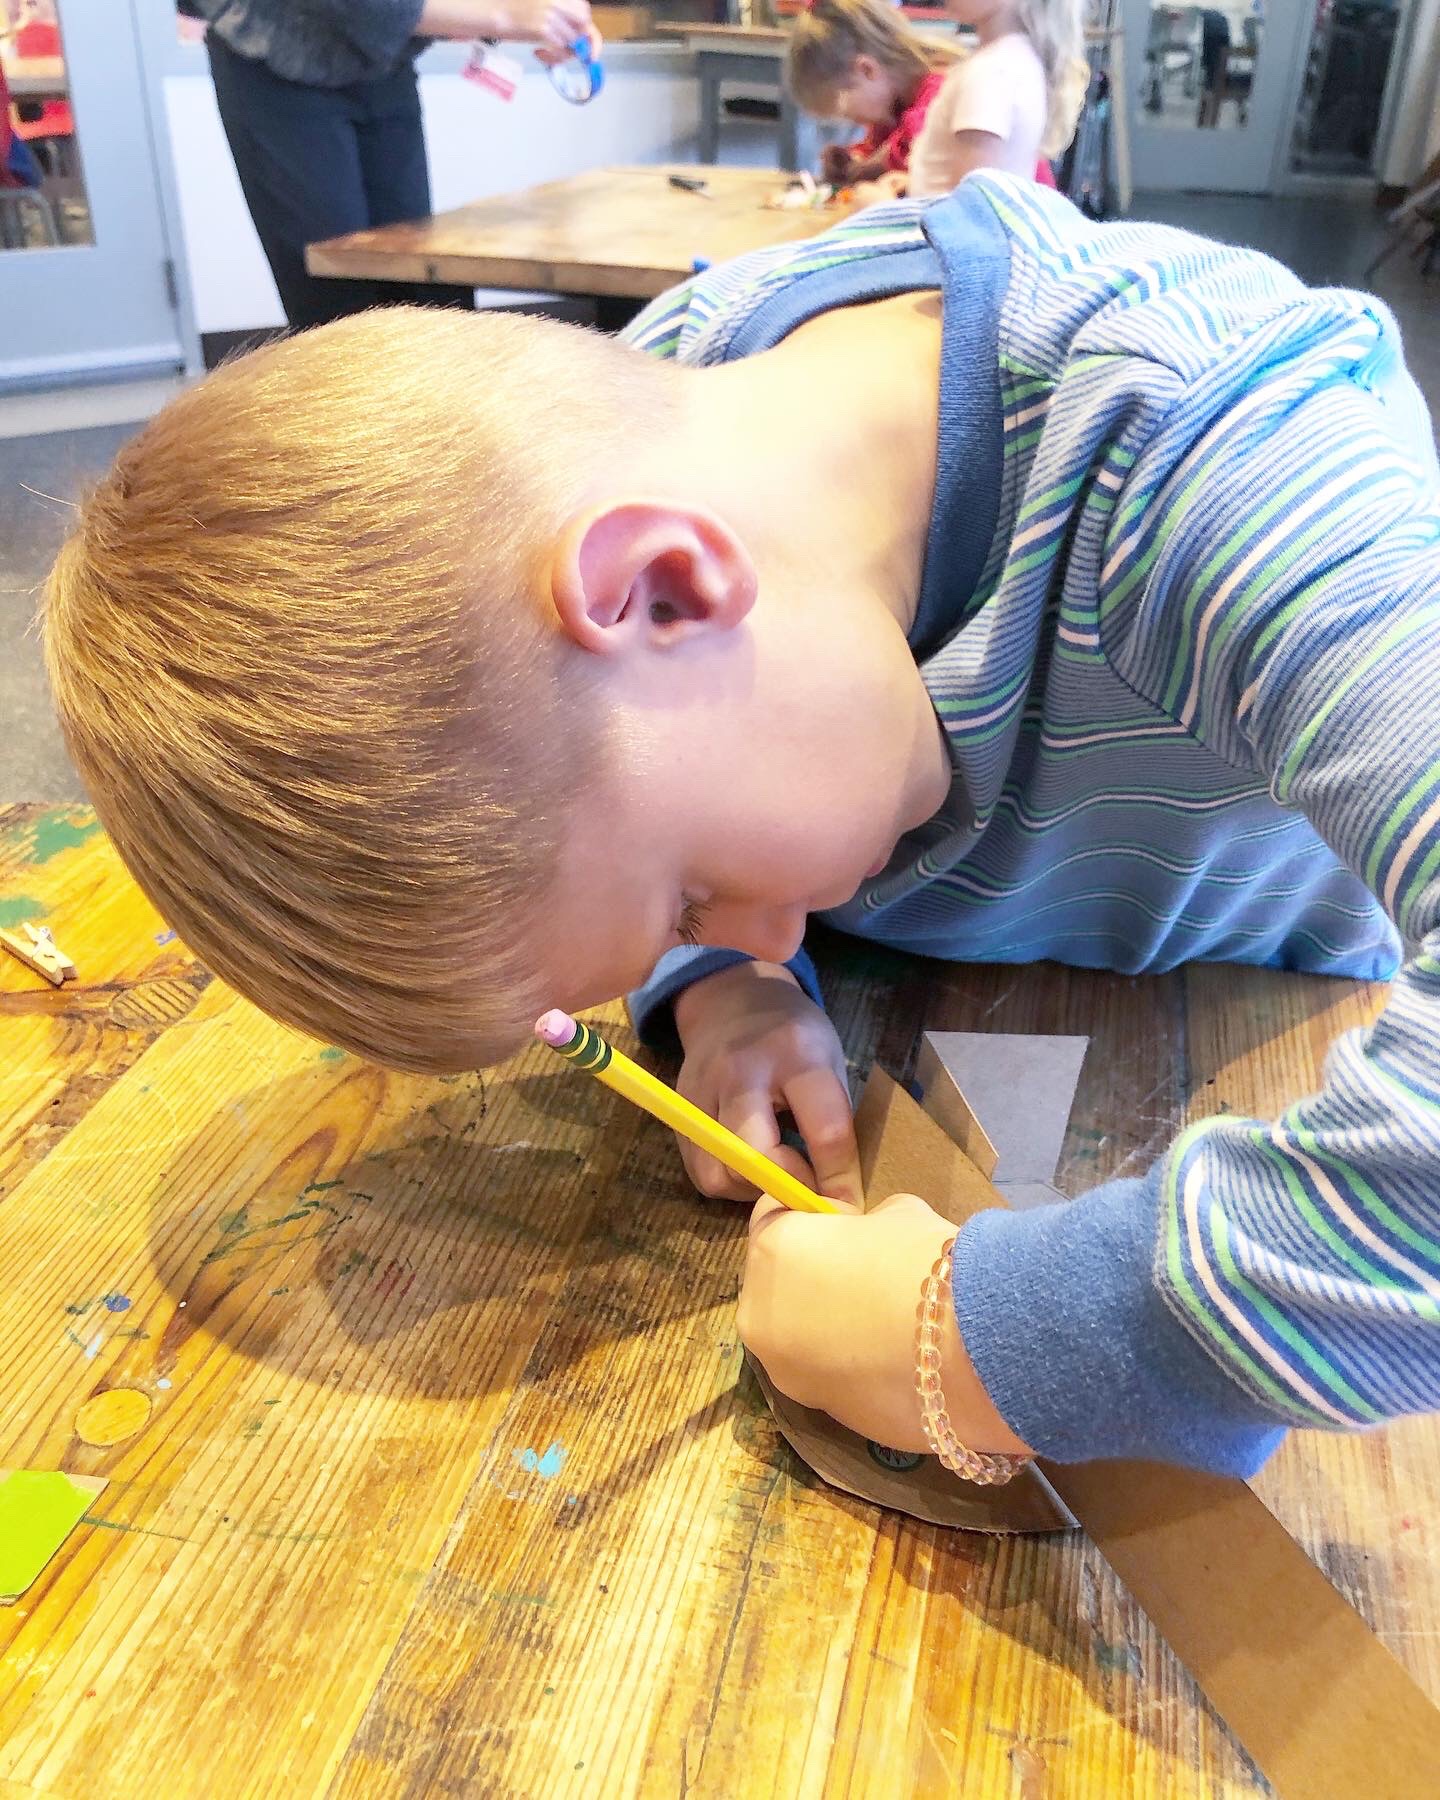
I also prepped a bunch of 2″ chipboard strips to use to make the frame. If I did it again I would go 1.5″ as it made the box a little deep for the size of these letters. Students watched their letter etch, took it out of the machine, cut it out then explored our green dot bins to select materials to decorate their letter. After decoration was complete, they made their frame by lining up the chipboard strips next to each side of the letter, and using a pencil to mark where the chipboard should be cut.
Most were pretty comfortable with the taping process, though we needed to tear some strips off the roll to keep the process moving. This class has a student teacher intern, so there were plenty of adult hands around to assist, making it easy for each student to have a completed box in about an hour’s time.
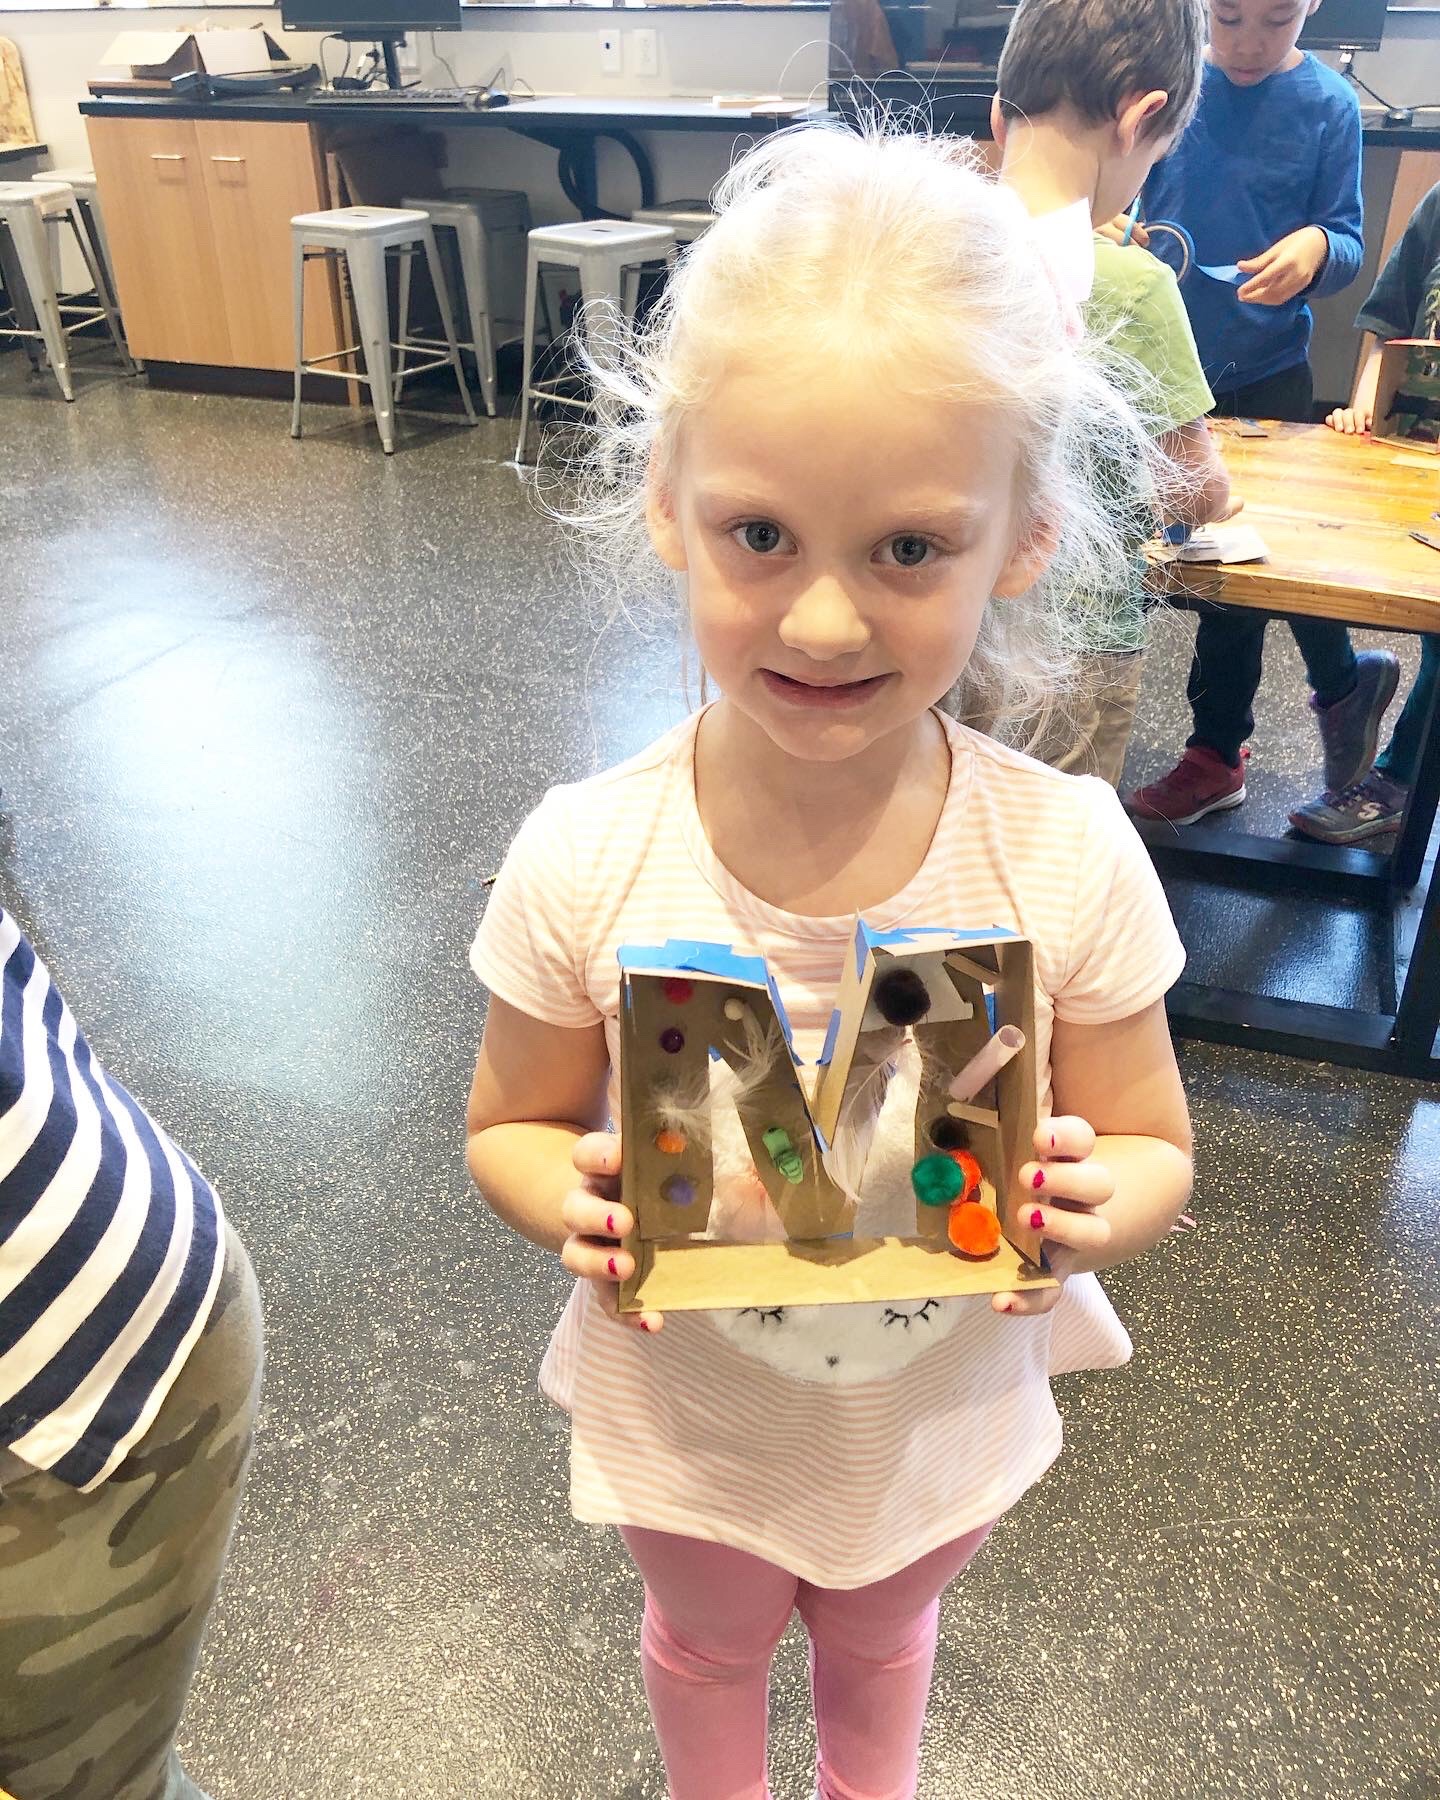
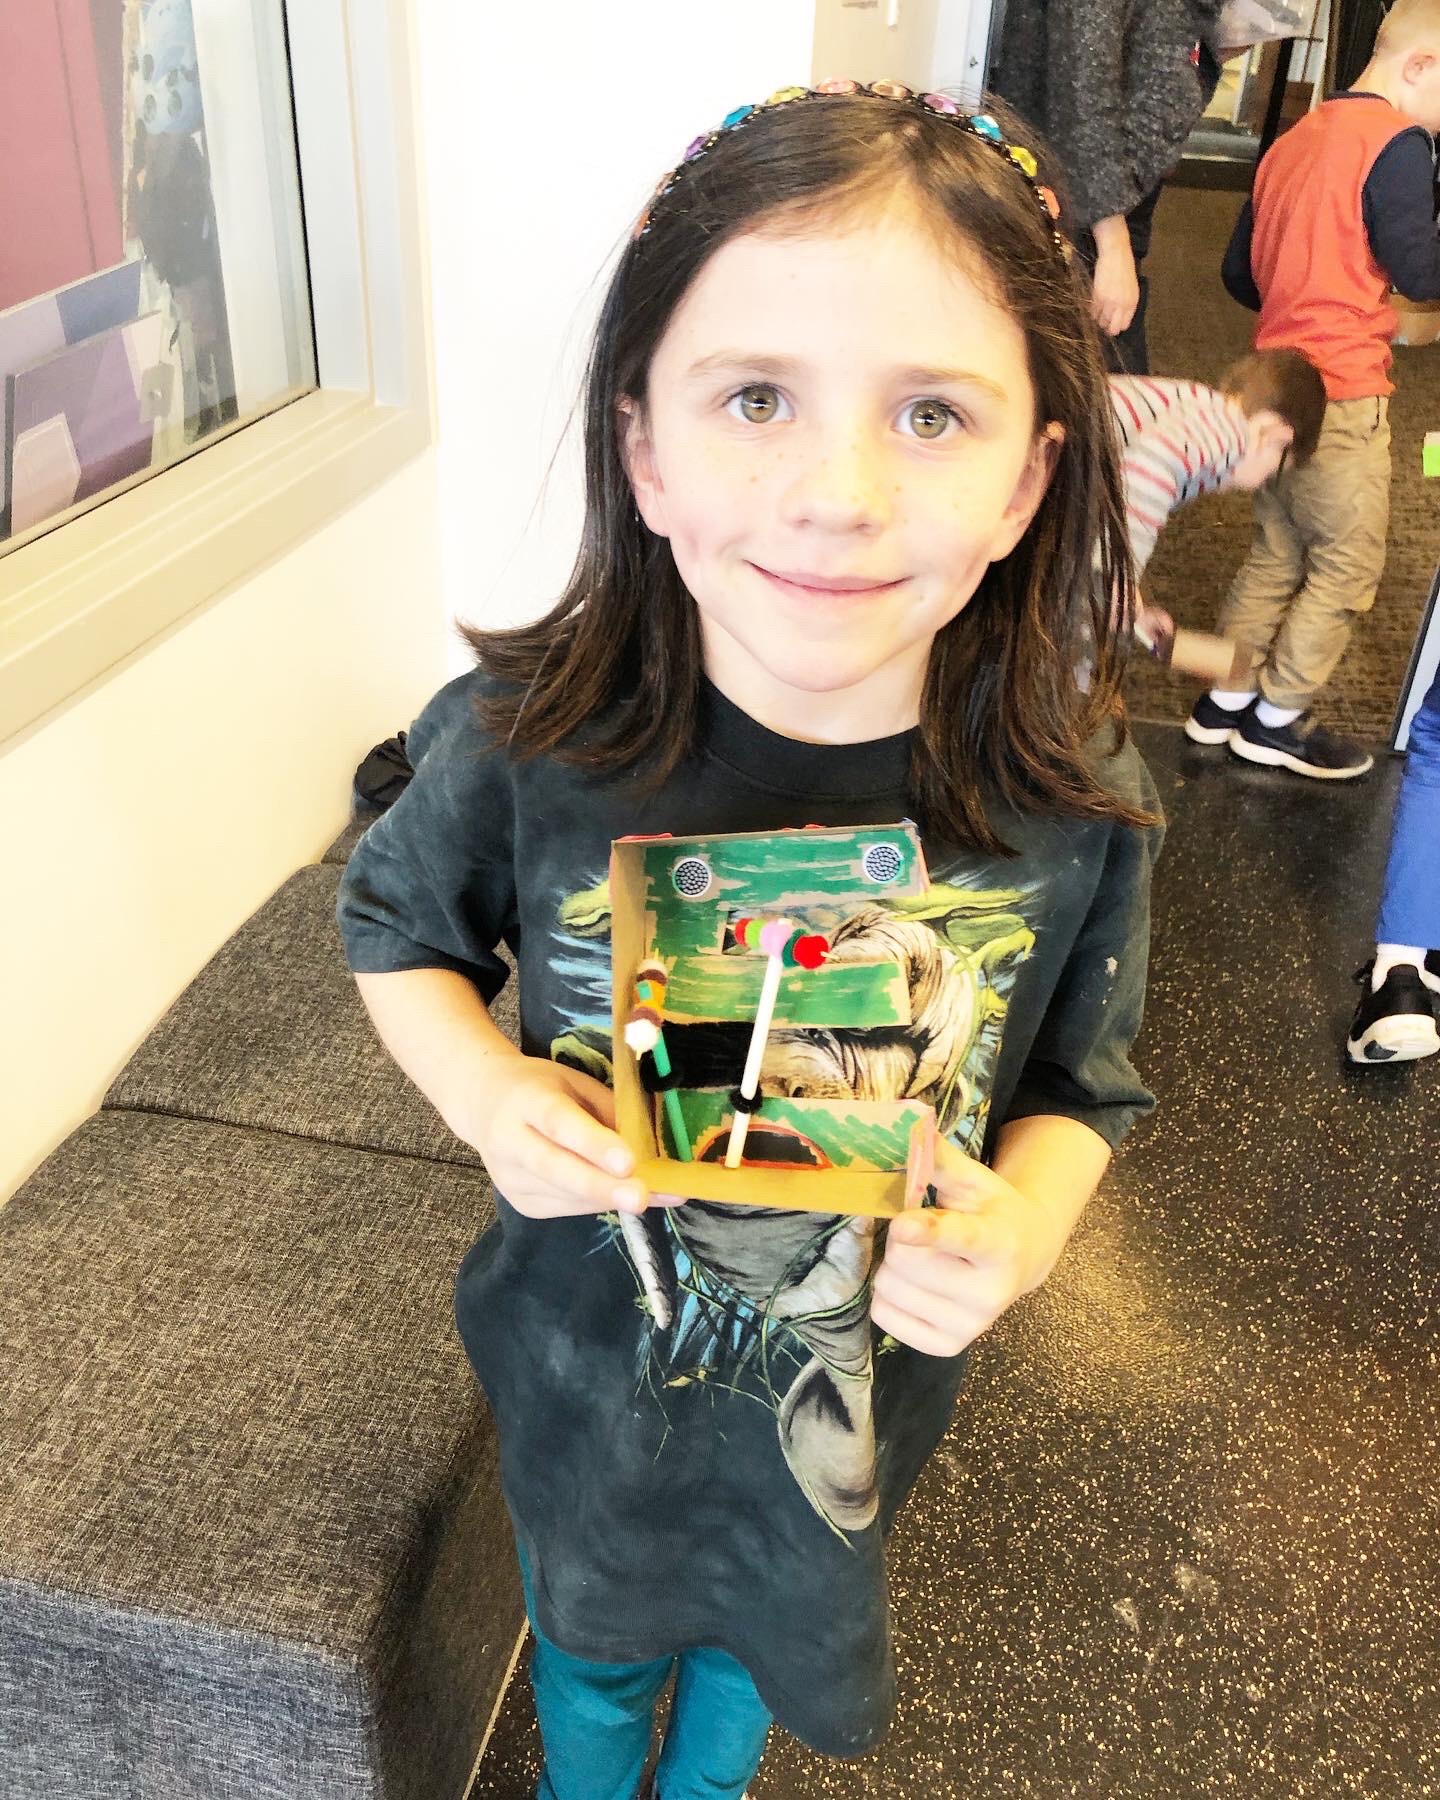
The engagement was high. Each student was so invested in their process! We loved watching them select the materials and tools they needed to make their own prototype. Next step is to make the real thing.