
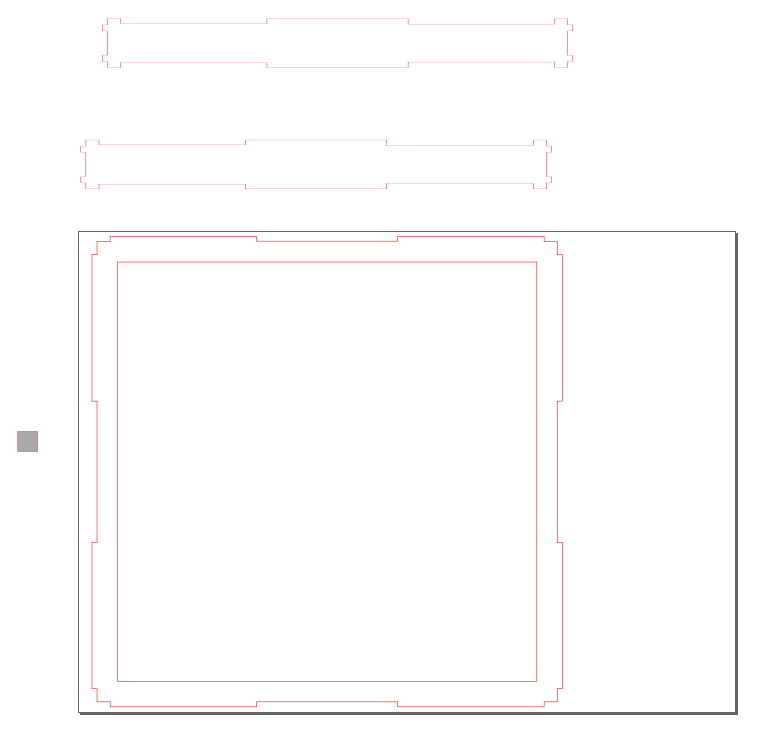
I’ve decided to switch focus back to my original idea of an infinity mirror. Since we got back, I’ve edited my inkscape file for the mirror and today I transferred the file to the shop bot. It has actually been a lot more work than I expected to get to this point- I had to edit all of the nodes on each piece of the frame to get the tabs correct. I should be cutting the frame by next class.
We had a snow day on Monday when we were supposed to have class so that was a big missed work day but today I cut the mirrored acrylic sheet that I’m going to use for the bottom piece of the mirror. It’s a 12×12 sheet so the size is a bit smaller than originally intended but I think it will be a good size for this project. Cutting this piece was actually rater easy- all I had to do was cut a straight line down the middle of the piece that was 24×12 before it was cut. I’ve also started to look at the tint that is going to go on the regular acrylic on the top piece. it looks rather simple- all I’ll have to do is clean the acrylic before I place the tint and then push the water that gets stuck underneath out. I’ll be looking to do some more work tomorrow during a short free period to get a littler further.
Over the past couple of classes, I have been working on putting the frame together and its looking good. After talking with Mr. D, we decided to change the design for the frame. Instead of using tabs to put it together, I’m now using just 13×4 sheets of wood with 2 half inch cuts to hold the mirror and tinted acrylic. We wood glued three of the pieces together and then nailed them to a base, leaving one piece free to get the acrylic in. Now we wait for it to dry.
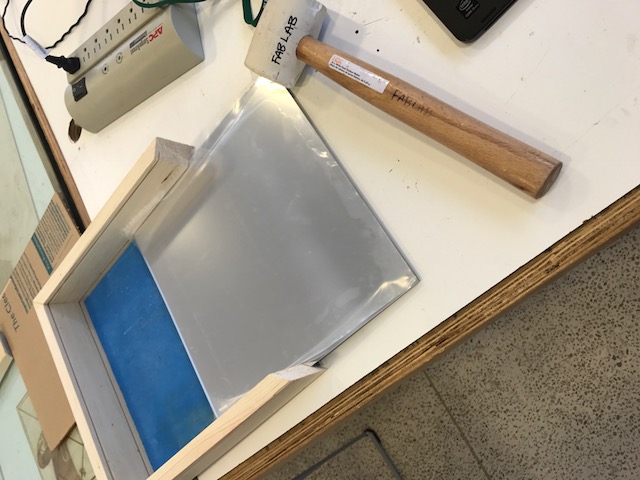
So the pieces were not glued into a perfect square so it’s really hard to get the acrylic in. I used a mallet to actually get the mirrored acrylic in but I’m not ready to put the other piece in yet. I think that this frame is going to end up being for prototyping and then we will re-cut it to be a perfect square.
I started putting the tint on the clear acrylic today which wasn’t that hard; although it took me a couple of tries. I measured out a sheet of the tint to fit the acrylic and then cut that piece out. After that, I taped three of the corners down and lifted the film off of the tint while applying soapy water to it. After I got the film off, I sprayed the acrylic with the same soapy water and laid the tint on the acrylic. I used an old gift card to get the air pockets out. This is where I ran into a bit of trouble: I had to redo the whole thing because I didn’t place the tint correctly. I did get it however and am now waiting for that to dry.
So because we had a hard time getting the acrylic into the ridges we originally cut into the wood for it, I decided instead to make a border that will also act as a ledge for the top piece of acrylic to rest on. This will also allow the LED strip to fit better within the mirror as it does not go all the way around by a couple of inches. I’m just planning on using half inch thick wood and it’ll wrap around the inside.
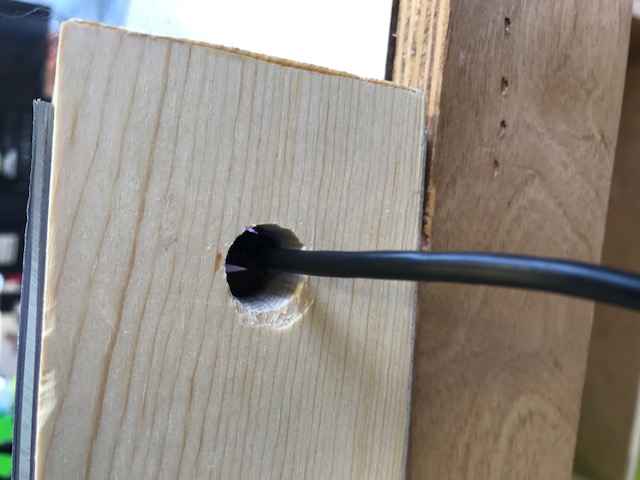
I finally finished a version of the border that will fit! it took a lot longer than I expected as I neglected that one end of the mirror was not yet sealed. The box is also not a perfect square, so two of the pieces needed to be shorter. They do fit now and I am using double sided tape to attatch the lights. I’m also drilling a hole near one of the corners for the cord to come out of the box.
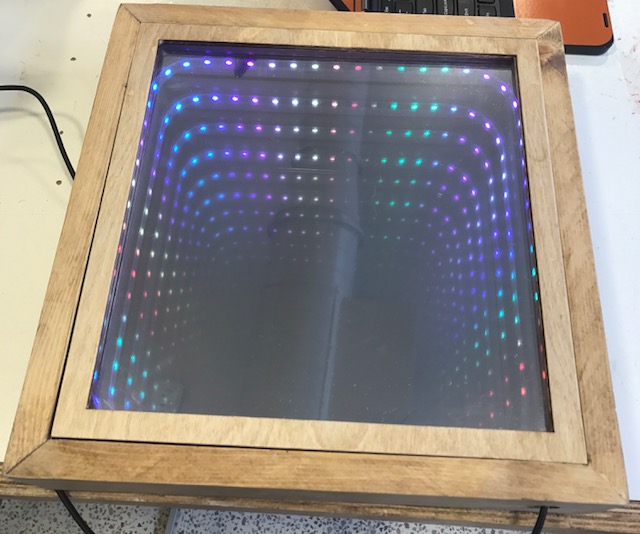
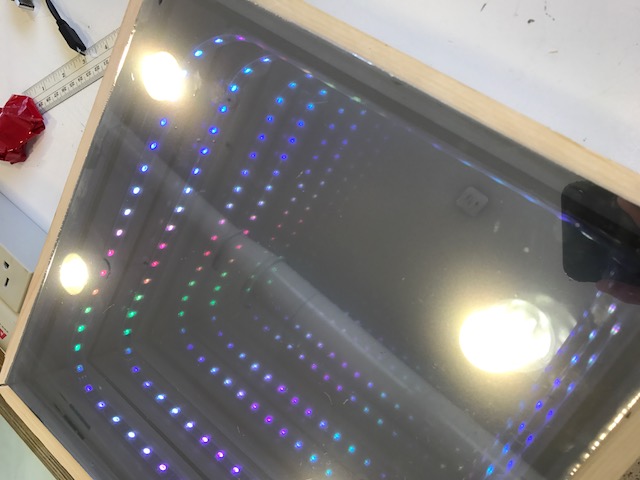
The mirror works! I’ve roughly put it together to see what would get the best effect and found one that made the illusion work well. In total, the mirror is probably a bit tall and would have been better at maybe an inch less depth.
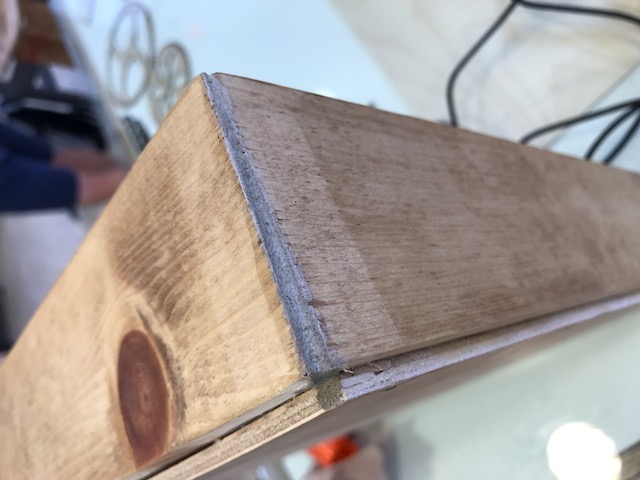
I stained the actual box with a wood stain. I started by sanding all traces of glue and marks from putting the box together away. The actual stain was interesting as I’ve never used anything like it. I only applied one layer, but I think the outcome looks good.
In order to hold the top piece of acrylic in place, I need to make an outer border. I think this will be a good addition anyways, as the edge of the acrylic on a couple of sides is cracked and scuffed. The border will be less than an inch wide but I’m planning on making two layers.
I had to sand and stain the border that I made. The two layers did not fit perfectly on top of each other but it ended up fitting better that way. After I put the border in it was time to seal the final side of the actual mirror. I put wood glue on a Popsicle stick and was able to get enough glue in to close it.
The last thing that I needed to do to finish this project was to add wood filler to one of the sides of the mirror. Last class, I sealed the last side, however one of the corners was jammed and not able to close. The wood filler looks different than the rest of the wood, but there’s no longer a huge gap at one corner.
And finally here is the finished product!
11 Replies to “2017 Infinity Mirror Project”
Comments are closed.