
Carbon Fiber Guitar Project
This project began at the beginning of last year, when our teacher gave us the task to build something; it didn’t matter what, as long as we learned something from it we could build anything. I decided to build a guitar because I had never built a musical instrument before, and I had always wanted to learn to play guitar. While researching, I became fascinated with carbon fiber instruments; they were gorgeous, durable, and easy to make. I did research on the process of making a carbon fiber mold, and began work. This process works by forcing marine grade epoxy through carbon fiber woven cloth. As the epoxy hardens, the carbon fiber acts as the structure for the epoxy to hold on to, making everything very stiff and strong.
First, I took a 3d model of a small-body acoustic guitar and rounded the shape of the back to eliminate sharp corners. After this, we sliced the model into interlocking pieces, and cut out those pieces on our laser cutter.

After all the pieces were cut, I began to assemble all the pieces using hot glue.

After assembling the guitar, I had this skeleton of a guitar. In order to fill in the gaps, I wrapped the entire guitar in saran wrap. This also gives the carbon fiber something to rest on, but it does not allow the epoxy to adhere to it, so I can remove the mold later.
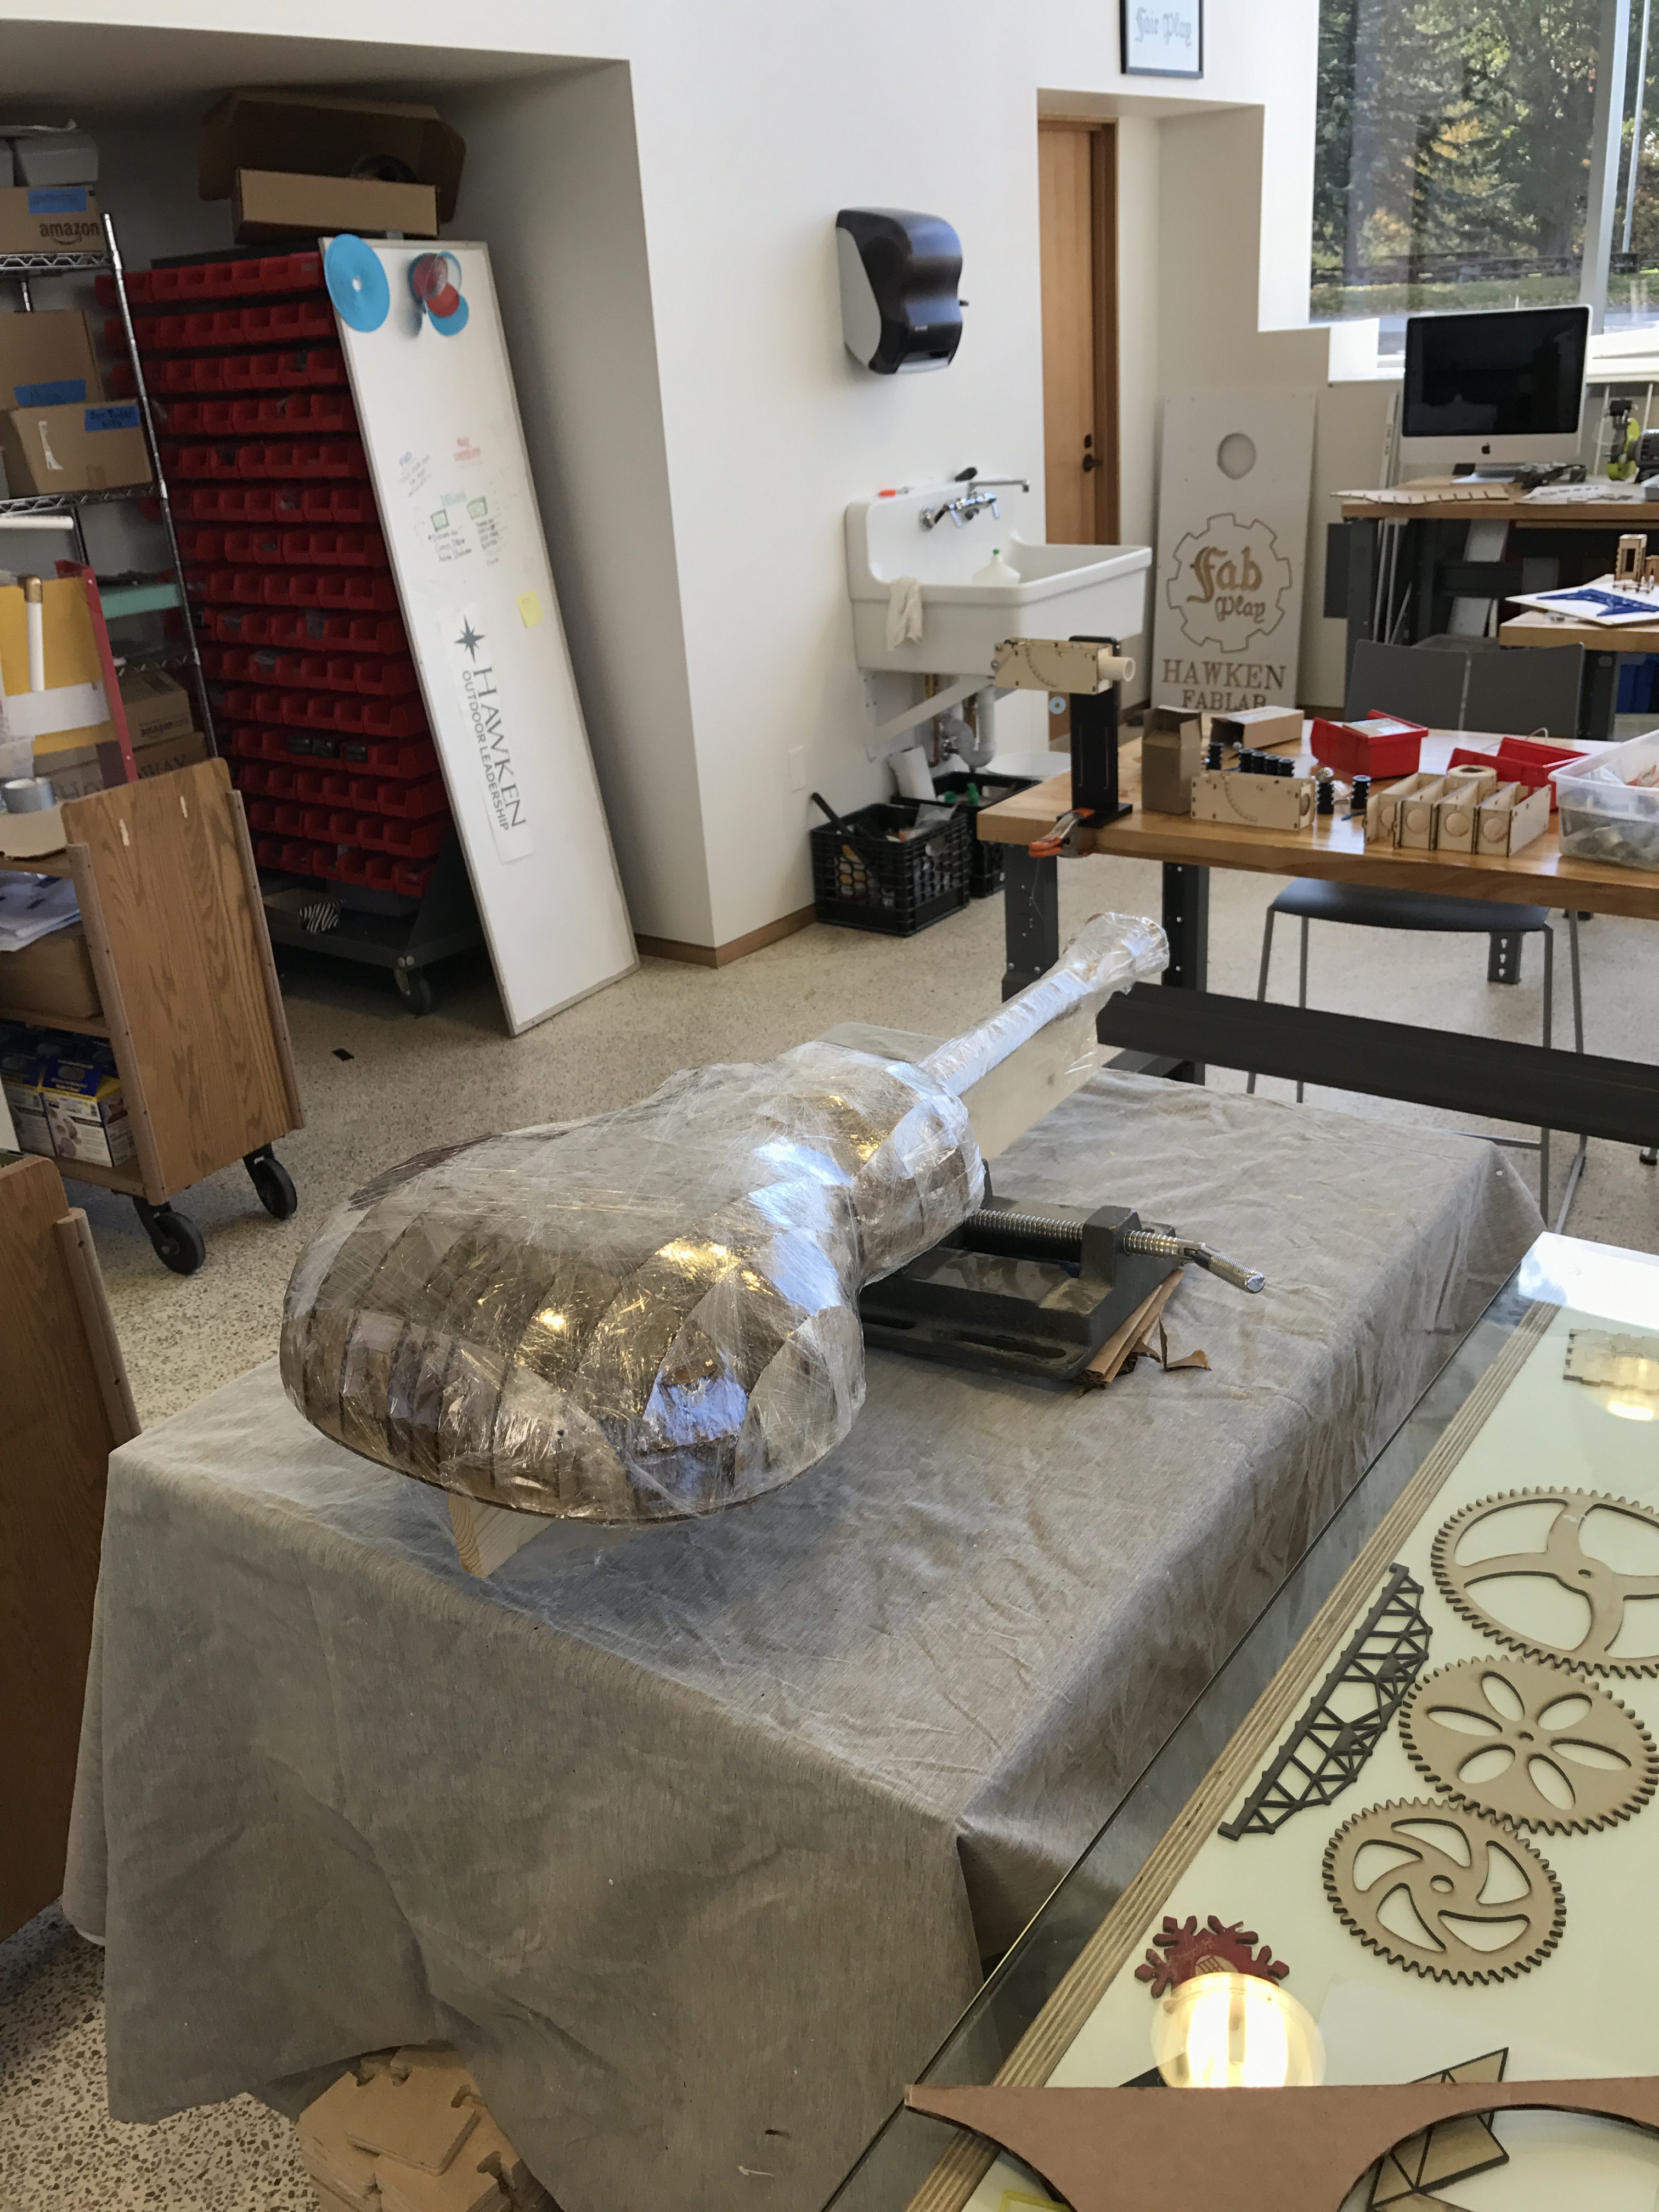

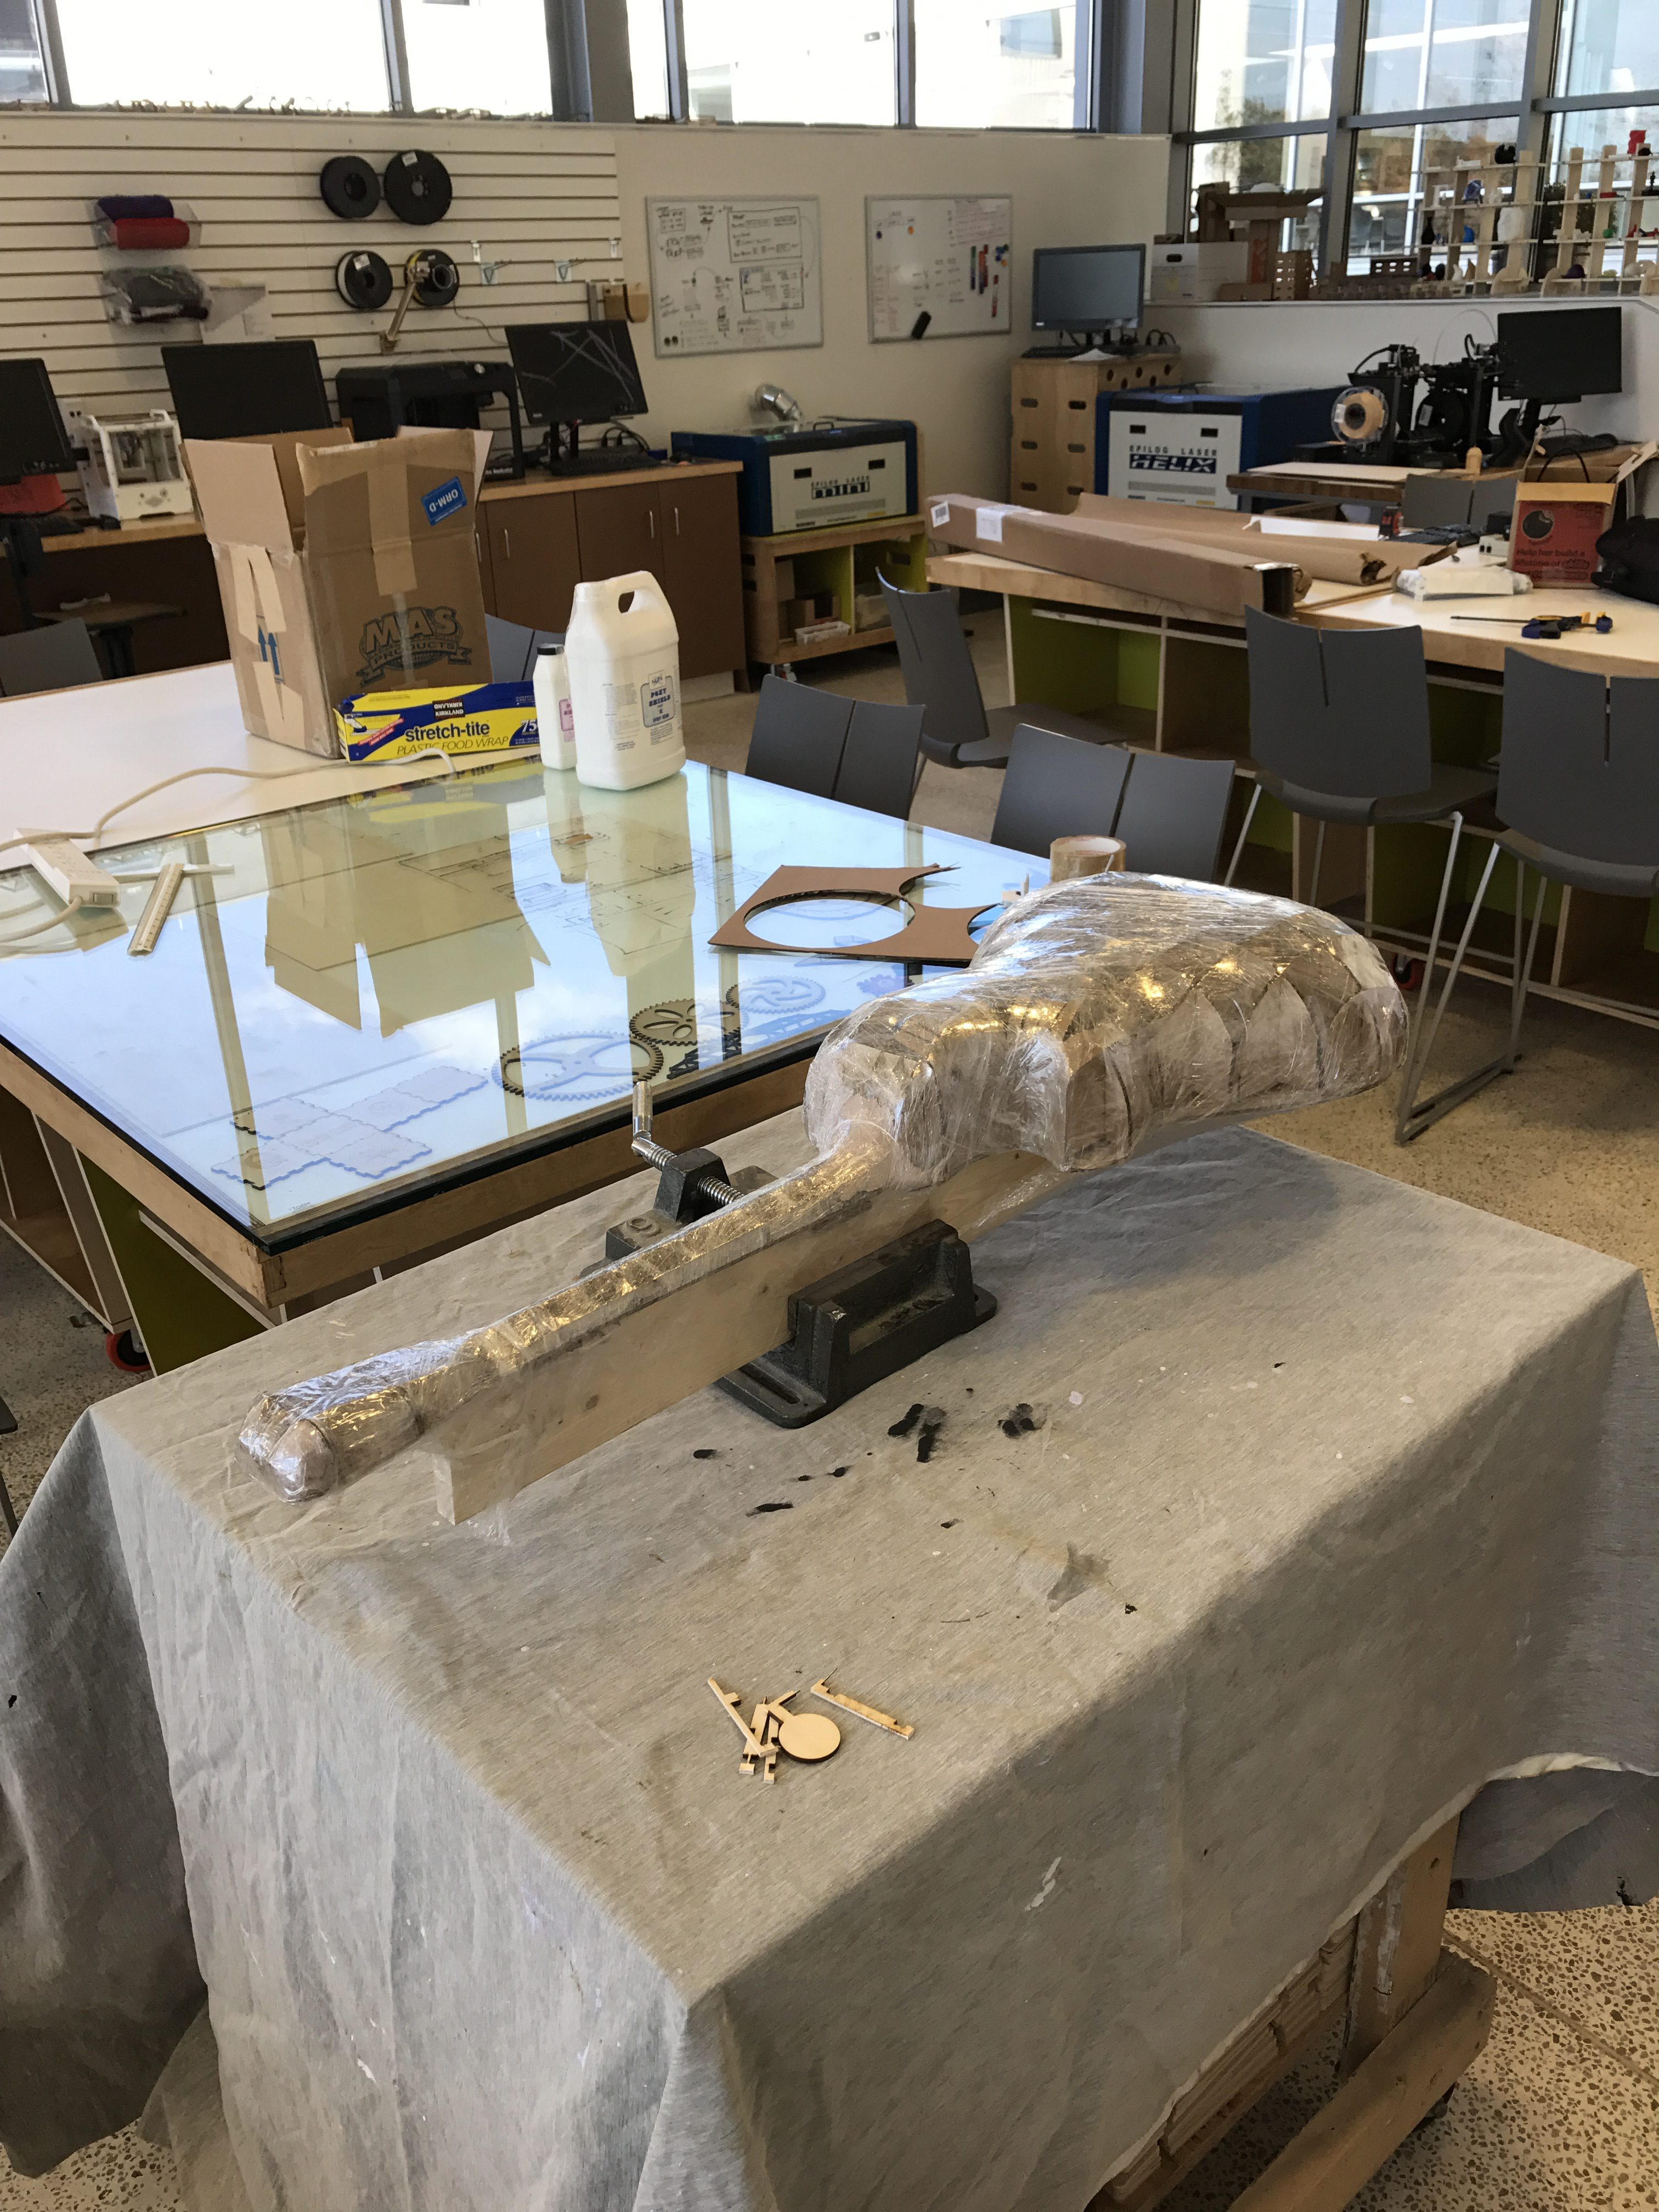
Next I laid the first layer of carbon fiber across the mold, allowing it to sit overnight. This allowed the cloth to conform to all of the edges of the mold. Eventually I applied 3 layers of carbon fiber and 2 layers of transparent fiberglass. The fiberglass smoothed out imperfections and added a little bit of rigidity. I only have pictures of the first layer because I had to work fast. Each layer of epoxy had to be applied within 12 hours of each other in order to form a chemical bond between layers.


After everything dried, I took the guitar out of its mold, very roughly trimmed off the excess fabric.


After more trimming, I worked to get the guitar body to the proper thickness, as well as making it perfectly level. After achieving this, I had to strengthen the neck. I used epoxy-soaked coremat to achieve this; coremat acts like a sponge, giving the epoxy a 3 dimensional structure to hold on to. I cue long strips and tan them down the neck and around the body.

After reinforcing the body, I sanded the inside down: it was filled with small bits of plastic wrap, air bubbles, and fiberglass splinters. Below is a picture of the inside before I sanded everything down.

While there are many mathematical equations available to create the perfect soundboard in order to achieve the best sound, I just took some thin plywood and drew what i thought looked pretty. Below is a mockup of what the soundboard will look like, with the acoustic hole pencilled out.

Next I trimmed the end of the fretboard and the sound hole out, and I tried to make an inlay out of rosewood. I decided against the inlay, since I couldn’t get it perfectly right, and i thought it looked pretty without it.


Afterwards, I assembled the soundboard, and prepared to place it on the guitar.

I will update this soon, as soon as the project is finished.
About The Author
cialis 20mg duração
[…] 5 cialis pill price […]
silver oak casino online gambling
[…] online casinos germany […]
levitra 20mg price in usa
[…] what happens if you are take two pills tadalafil 20mg […]
viagra pills for sale
[…] sildenafil pills buy […]
walgreen cialis price
[…] when is generic cialis available […]
buy generic cialis online
[…] is cheap cialis safe […]
sildenafil dapoxetine tablet
[…] do male porn stars use viagra […]
order viagra with mastercard
[…] viagra cost per tablet […]
how can i order viagra online
[…] buy viagra zurich […]