Ameria’s Guitar Case
Ameria is a 7th grade student full of creative ideas and a strong do-it-herself mentality. I first met Ameria when she was a new student last year, and she came to see me in our transitional makerspace while the new facility was under construction. I was parked in the hallway with a laser cutter, Carvey, a desktop with CorelDraw, and a design table – and was slowly getting to know how to use all of these things. Ameria heard an announcement I made to invite students to work on individual projects, whether they were related to a class assignment or not, during their free times. She told me about her annual Halloween gathering with her family and how she wanted to make her own decorations. Within a week we were working out of her sketchbook and some inspirational holiday catalogs to try to recreate felt garlands, spiderwebs, and candy boxes all cut using the laser cutter. At the time I had no idea how to find an image of a skull online and download it to make a laserable pattern in Corel, but I watched a lot of YouTube and asked for a lot of help inbetween our session meetings so I could try to stay just a few minutes ahead of her process.
This year felt oddly familiar when she came to me with a new challenge: she drew a student in the holiday gift exchange who loves to play the guitar. She wanted to make some custom guitar picks for him. In our search for inspiration, we found some guitar pick cases, boxes, and trays shaped like the body of an acoustic guitar. These were running about $15-$20 online, well above the spending limit for the Secret Santa. And, with Ameria, she promptly claimed she wanted to make an item just like that herself. We walked around the lab and talked about materials, machines, and size. We drew up some production steps. We found a sample project on Inventables that made us think about how we could use the Carvey to get the look she was envisioning.
All-told, we went through about 5 prototypes before she finally had a product that met her standards for gift quality. While I don’t always post about the nitty-gritty of how something was completed, I think sharing these steps will show the back-and-forth we all need to go through as we iterate and try something for the very first time.
To achieve Ameria’s idea, we:
- downloaded a black-and-white clipart of an acoustic guitar body into Corel, then used trace bitmap to grab the outline of the body. We saved this as an .svg to open it up in Easel (the Carvey software)
- imported the guitar body into Easel, and used the sample project linked above to grab the design file for the guitar body pocket. We put the pocket inside the imported SVG and had our design file.
- Milled a prototype out of 3/4″ pine to get a feel for size and shape. We thought about where to put the tabs so they could easily disconnect from a straight part of the design instead of a curve around the body of the guitar.
- Moved to walnut, her material of choice (it came with the sample materials from Inventables).
- Designed a top for the box by taking the pocket file in Easel and contouring it to make it just a little bit bigger. We pocketed out the border around the outside of the original pocket, to create a lid. It didn’t work
- It didn’t work because I didn’t think about mirror-image flipping the lid to make sure the pocket was aligned, and we didn’t have the sizing quite right. And the lid made the box too big. We could have kept working at this, to get a better lid out of matching walnut, but we were both pretty frustrated at that point.
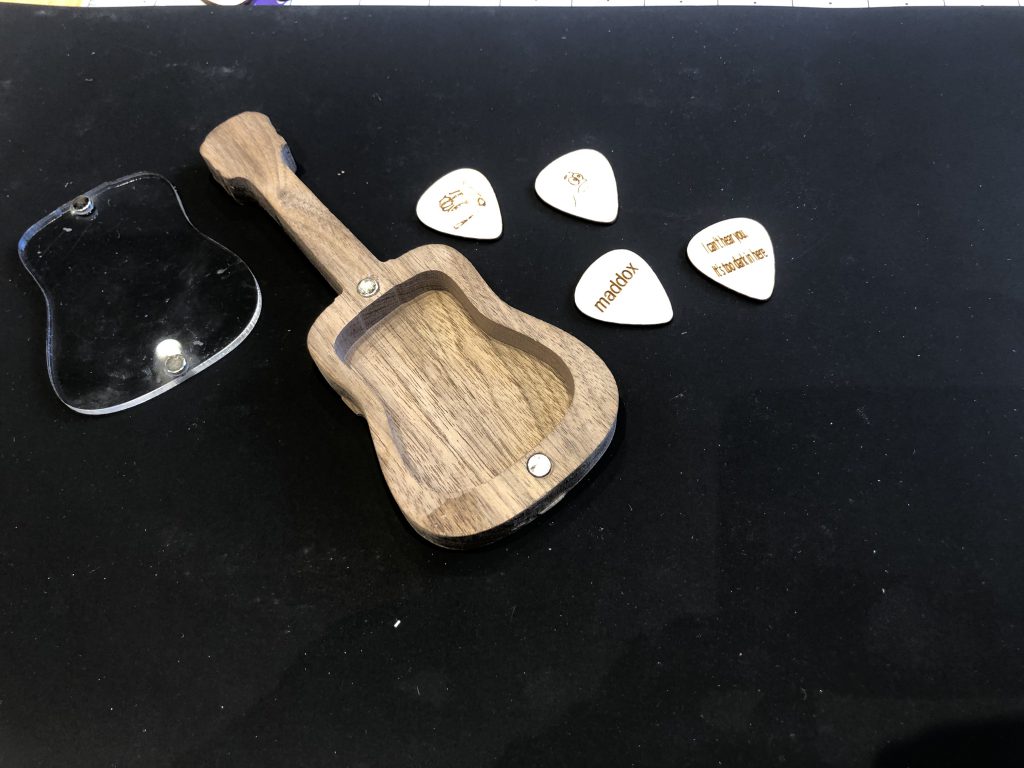
- We went back to Corel and used the guitar body .svg to edit it down to just the body, and laser cut a piece of clear acrylic that could fit on like a box top. We intended to connect it with a dowel so the lid could swivel on and off.
- We couldn’t get the right size hole for the dowels we had available, and we couldn’t get a dowel cut to be flush with the base and top of the box, and still swivel. We were beginning to think the box could not have a lid and it was just going to have to be a tray.
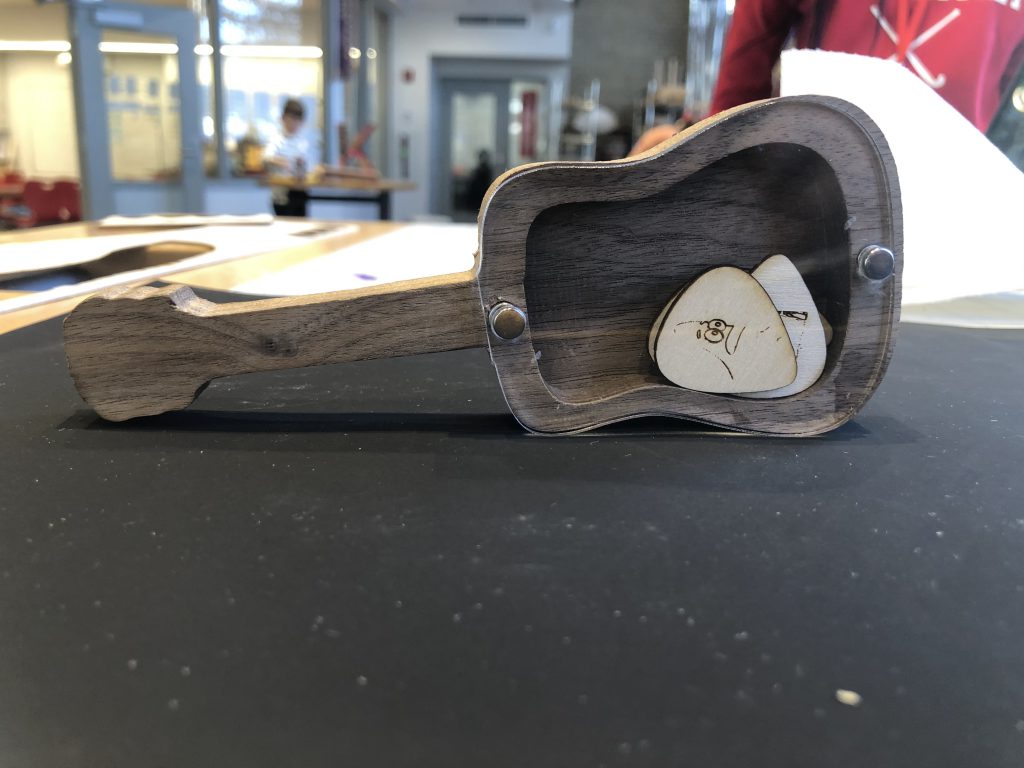
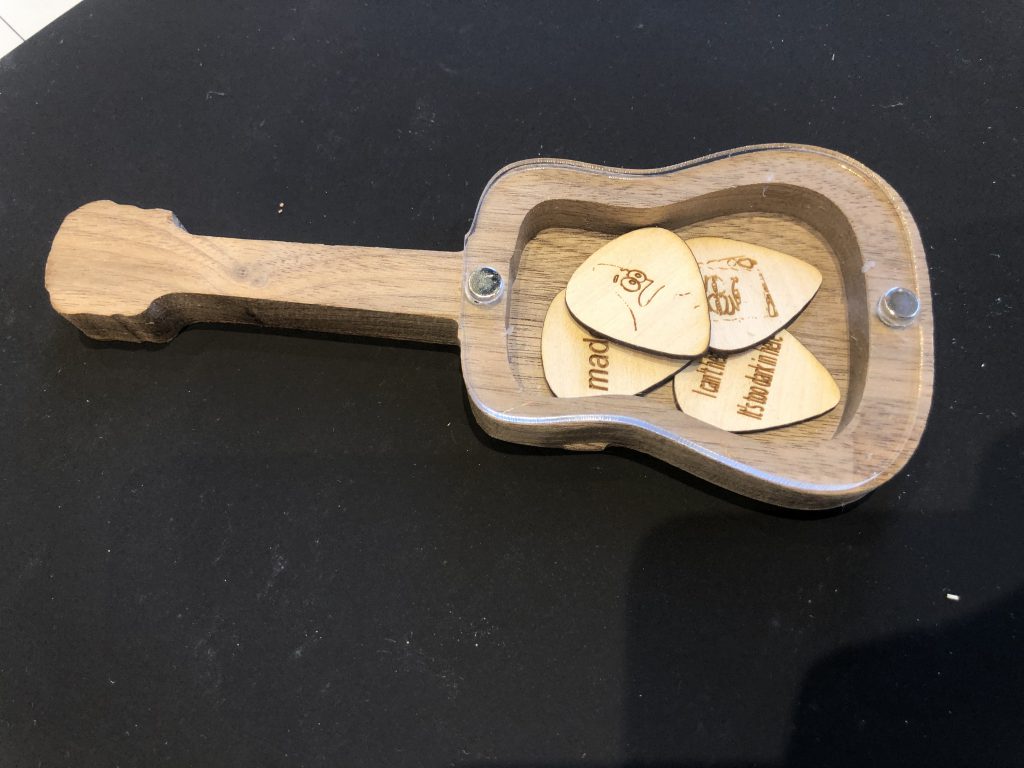
- I dug up some magnets from another project and found the right drill bit to fit their diameter. We had to test out a few bits to make sure the magnets were flush, so we burned through that walnut and acrylic prototype while trying to get the fittings right.
- We milled the whole thing out again out of another section of the walnut and laser cut new acrylic. We used the drill press to drop a hole in each edge of the acrylic and the walnut to hold the magnets. We did a few trial-and-errors until the hole was deep enough for the magnets to be flush.
- We (Ameria- I loathe glue) superglued the magnets in, considering polarity for which way the magnets should be placed in their respective holes
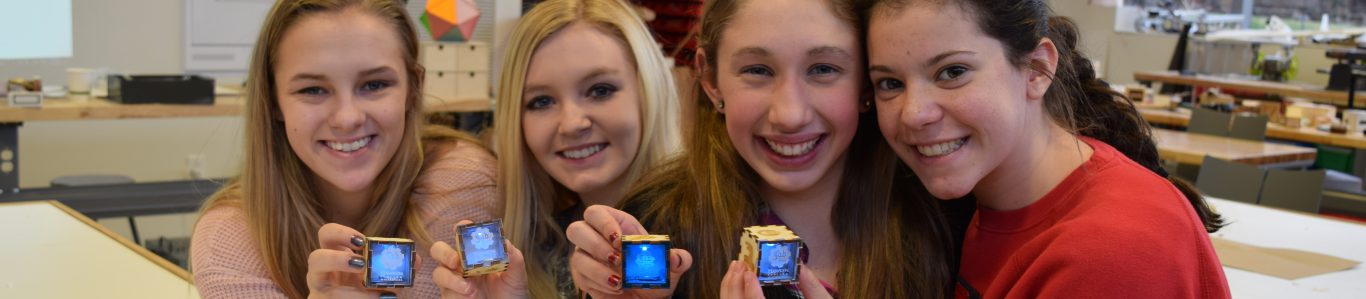
- We let it cure overnight and windexed the acrylic to make it shine. Voila!
I wanted to write about this project specifically because it’s a good example of how the machines, materials, and tools came together as required by a particular project and idea. I didn’t have much practice with a Carvey before this, so it was a chance to learn even while leading the production. This project also shows how a student idea might seem unattainable, but that’s what we need in order to do something innovative. I sometimes seek Ameria out and ask her to come up with a project, because I know she’s going to have an idea that will require me to stretch my repertoire, and ultimately that’s what I really need.
Ameria asked that her photo not be shared, but she did write this simple quote about her work: “The process of this guitar project was very long. This project was very difficult but we always found a solution. It was a fun experience though because I learned more about designing products. I learned more about machines in the innovation lab and how to use them. “
Play on!
Tags
About The Author
Anna Delia
Mrs. Delia is the Director of the Innovation Lab, Hawken's PS-8 Grade Makerspace, Woodshop, and Science Lab located just outside Cleveland Ohio. She works with all teachers and students to create making experiences. Mrs. Delia loves everything about Japan, where she grew up, and making student visions a reality. She made both the hat she is wearing and the baby she is holding her profile photo. Currently, her favorite machine in the Innovation Lab is the router, which she recently used to round off edges of giant wooden dice for an after school maker group.
Posts You might like