

TinkerCad remains one of the most powerful and accessible tools out there for design and modeling of 3D objects. When I first learned of TinkerCad, I was thinking of the end-goal to be 3D printing. However, I have reframed this in my mind – the best use of this tool is the visualization of 3D models and shapes. Many of our teachers across all grade levels have started to incorporate TinkerCad into their students’ work, just after sketching and often replacing a traditional design blueprint done with graph paper. The result is a polished digital design that allows the student to see and manipulate their idea in three dimensions.
Valentine’s Day is coming up and that reminds me of how a PreKindergarten class used TinkerCad last year to combine learning of shapes, technology, and friendship all in one beautiful project.
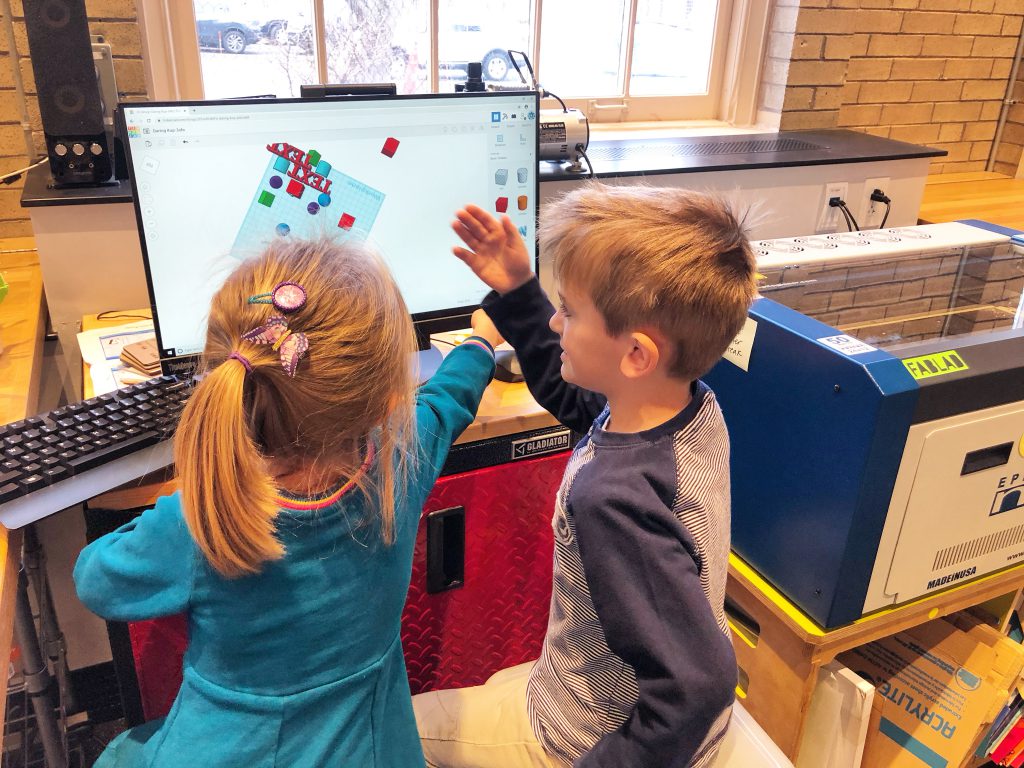
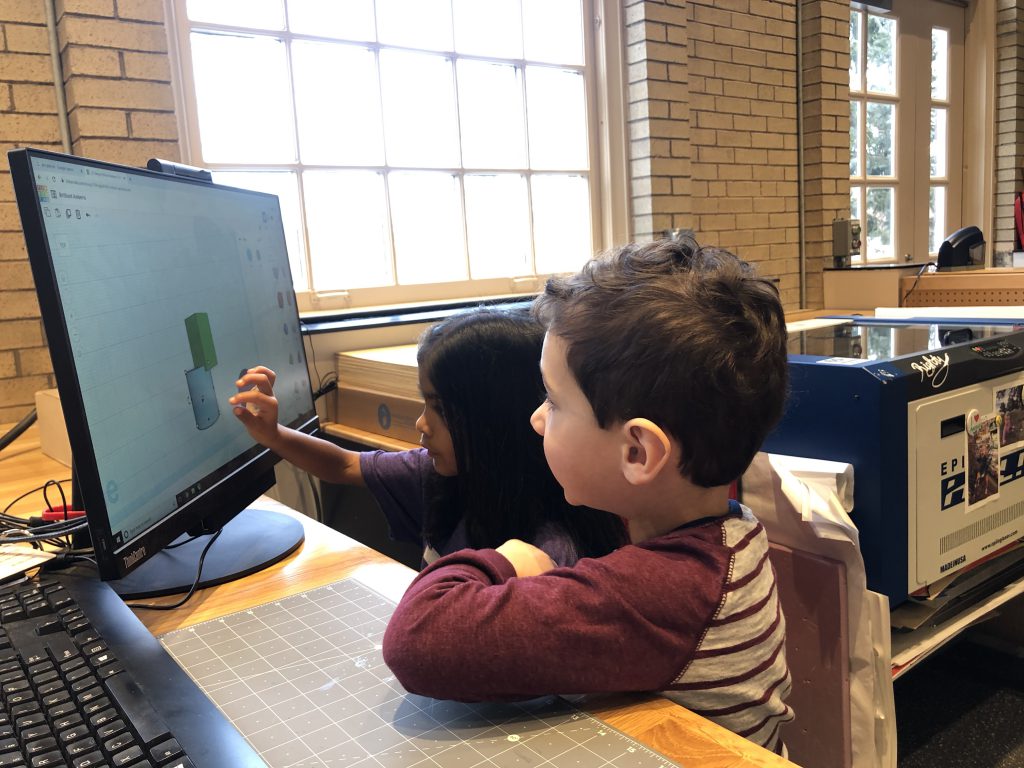
In this “Friends Project,” students partnered with someone they do not typically play with during the day. They visited the Innovation Lab for a short 5-minute tutorial on TinkerCad, how to drag and drop shapes from the choice menu, and how to use colors, all controlled by a touch screen so they could easily access the program at a level appropriate for their fine-motor control. Partners played around with TinkerCad for a class or two- highly enjoyed by the students, with high engagement. This was also their first foray into targeted computer use at School. After this, their classroom computer was “opened” (our Early Childhood terminology for when a station or area of the room is available for student exploration), and TinkerCad became an exploration choice option during the school day. In the weeks leading up to Valentine’s Day, students interviewed each other and asked about favorite things, including shapes and colors. Teachers scribed the conversation to include in documentation for the project. In their next visit to the Lab, students selected their new friend’s favorite shape and manipulated it in TinkerCad to customize the size (i.e. “small heart” “wide rectangle” or “skinny circle”). I pulled all the student designs onto one printing plane and 3D printed the shapes for the group. After snapping them off the plastic raft, students used acrylic paint to customize the colors of the shapes to be their friend’s favorite color. (See my note about painting below.) The third visit to the lab involved a trip to the woodshop so students could drill a small hole through the shape using the Drill Press. Yes, even our youngest makers can use the Drill Press with confidence, clad in safety glasses and with hands-on teacher support. We used beads and plastic cordage to create a keychain from the shape. Students used Art time back in their classroom to design and create their own custom wrapping paper, and exchanged their thoughtful gifts to their new friend on Valentine’s Day. Suuuuuuuuuuuch a sweet project. And think of all the learning, command of software, and responsible use of technology we were able to promote through this project.
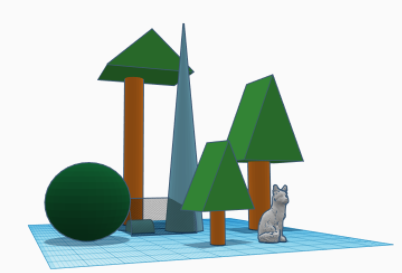
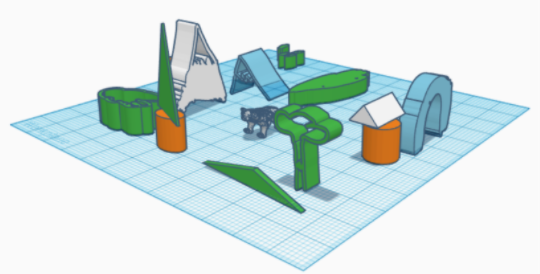
Our annual “Living Zoo” project in 1st grade took on a new persona last year as the “World of Wildlife.” Students used available materials to create a 12” x 12” model habitat for their animal of study. As you can imagine, imaginations can run wild and creations can grow quickly when a child is given access to a bundle of raw materials and glue. We wanted to slow the process a bit to help the students see how their visualization of their project could become a design, create and make a plan, then construct. Turning to TinkerCad, we set up 12” x 12” workplanes, the same size as their provided habitat substrate. Students visited the Innovation lab and received a short (5-minute) introduction to the shapes warehouse of TinkerCad and how to zoom, drag, and drop in the program. They then visited Thingiverse and downloaded a pre-existing design of their chosen animal to place somewhere within their workplane. Using the shapes feature, they were able to create extensive blueprints for their habitats and visualize dimensions of all the objects. We paper-printed a snapshot of their model for each student to have right next to them to use as a guide as they selected appropriate materials and started their habitat construction, turning blueprint into constructed model. By adding in this planning and design step, students not only received a boost in their 3D visualization, learned new software, and had a pro-looking printout to include on their showcase table, but they also had the best habitats we’ve seen in the years of this project. The blueprint model enabled them to focus their physical creation into a beautiful, well-proportioned model.
Other experiences we’ve piloted using TinkerCad in this visualization realm:
- 3rd grade science design of owl boxes for native owl species in Ohio
- 7th grade “bridges” elective class design of a load-bearing bridge to be built for the final project
- 7th grade monument project blueprint design of proposed Monuments for the National Mall in Washington DC
- Makerspace Summer Camp teaching of drawing a character – representing the character in 3D – 3D printing the character
Logistically, we run a Makerspace account for TinkerCad and share the log in with teachers as they need to use the program for projects. Each student receives a workplane with their name. This way we can log in from the Lab and check projects, and students can also work on their project using any class iPad set or even at home, as needed.
THE ROLE OF PAINTING: We realize how fun it can be for students to find something in Thingiverse, import it to the MakerBot software, and 3D print it out. But when reflecting on this process, the student doesn’t have a huge hand in the “making” of the object. However, at a young age, it can be hard to design something that makes a good 3D print file. But we want our students to have their hands involved in making as much as possible, and find a way for those hands to be involved in any project, no matter how minor. A few years ago we realized that acrylic paint does a nice job adhering to the printed plastic. So, if a student truly needs something that has already been designed by someone else out there in the maker world – say, for example, a model of an animal – they can have it printed in neutral plastic, then use paints to customize for their own use. We have found this to be a happy medium when we want a product that has the perfect appearance of a 3D printed design, but allows students to feel it is their own work. Due to the complexity required for a feasible print design and time it takes to print, we don’t do a lot of mass-3D printing, but when we do, we often ask the students to paint or customize their final product to make it more their own.